
Leaderboard


Popular Content
Showing content with the highest reputation on 02/12/2017 in all areas
-
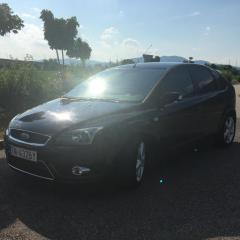
Maxton design3 points
-
11 gallons of Stella "I'll try anything once" spoken like a true Scot @jmurray01 lol So @lenny does that mean someone somewhere is driving around in 171 D 1? Sent from my iPad using Tapatalk2 points
-
bluefin on my focus eco 100. no problems and been on since oct 14, and driven 24k with it on ( car on 51k now) dont drive hard every day but the power is there when i need it. easy to take map off when required.2 points
-
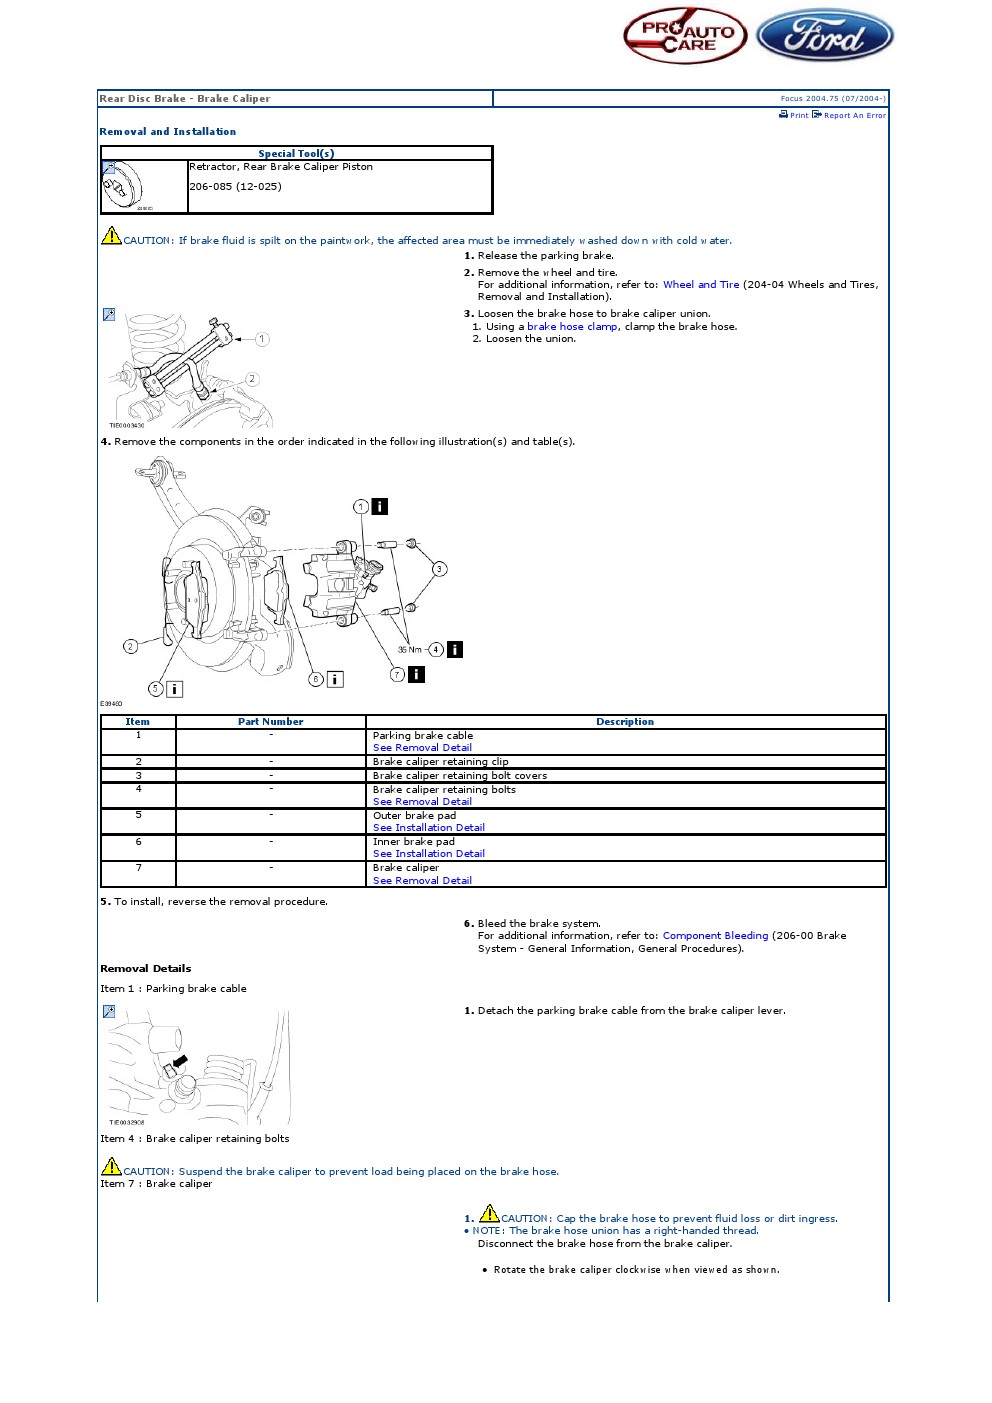
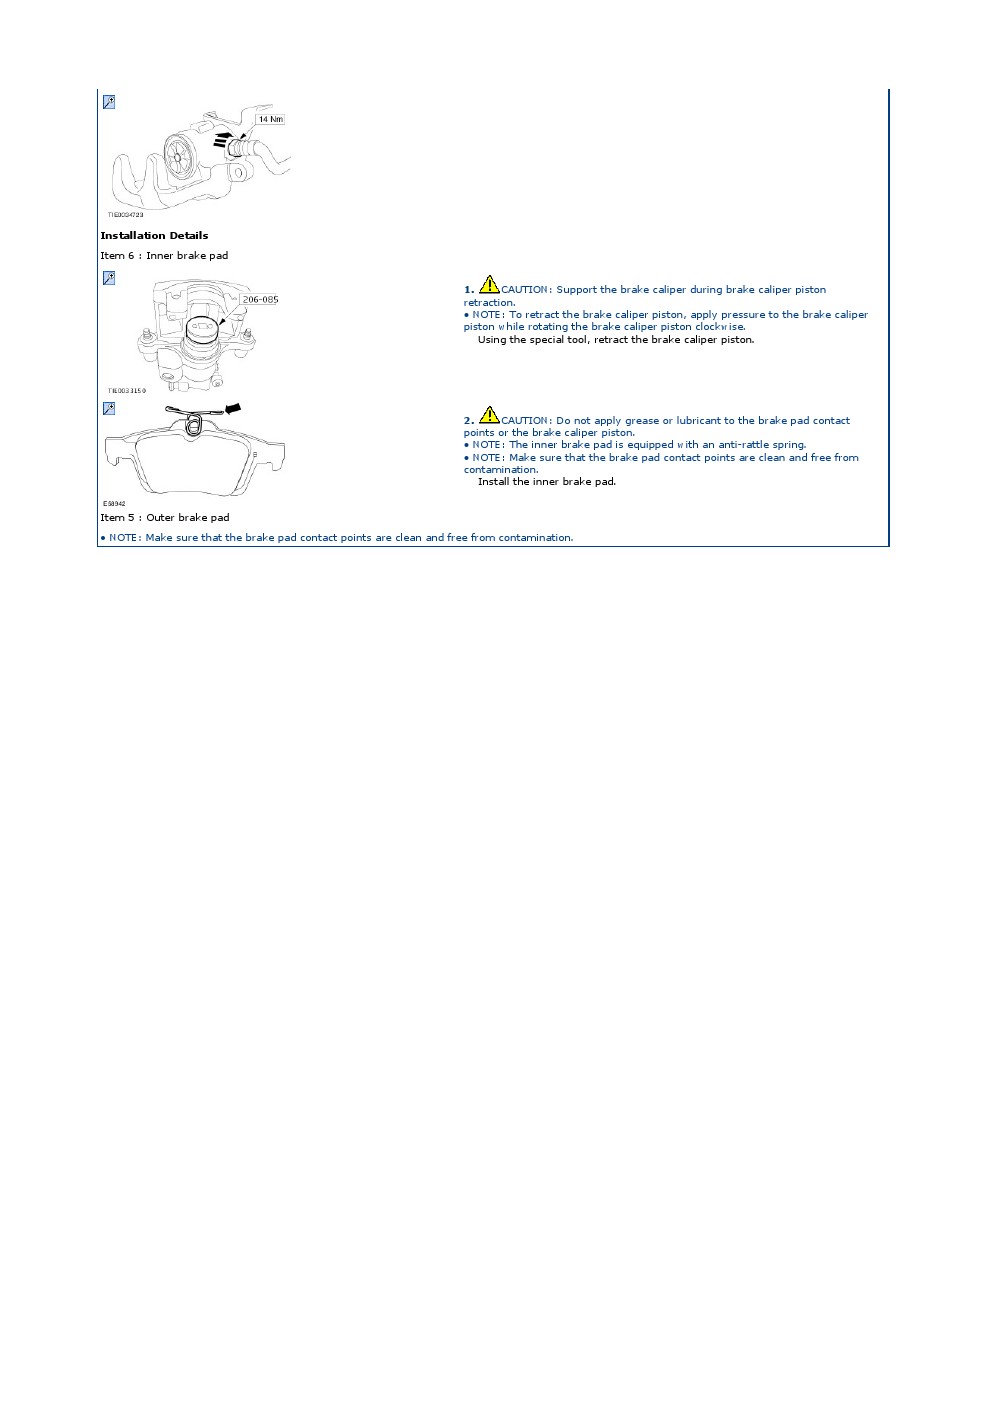
David, you might be ok. What has probably happened is that the pad has worn so thin that the backing plate has started to rub on the corroded ridges that form on thedisc outside the swept area. With luck the actual swept area will still be undamaged. I would take a careful look at the inner surface of the disc when you take the old pads out. If the outer pad has indeed worn so thin and the inner one is still thick it is likely the inner one has stuck in the carrier so has not been contacting the disc much in which case you might find the inside surface is corroded.2 points
-
Ringo seems to have taken to barking randomly on his late night walks recently. Not what you want at 2am...2 points
-
Thanks mate 👍🏼👍🏼👍🏼2 points
-
Yep 👇 Guide to Fitting Genuine focus Mk2.5 ZetecS Front Lip spoiler Click Here Guide to Fitting Genuine focus Mk2.5 ZetecS rear Diffuser Click Here Full ZetecS Kit Fitted to Mk2.5 Focus Click Here2 points
-
So I'm gonna need the lower spoiler from the Zetec S and can't fit it to a standard front bumper?2 points
-
Climair are better quality and are expensive but Heko look allot better on the car. Here is a picture of my Climairs.
 2 points
 -
I don't know about groves but what I meant by the grooves are the sliding faces that locate the pads in the carrier. They are what absorb the forces on the pads when braking. The caliper itself just floats and simply squeezes the pads together. It doesn't take any of the rotational forces when braking.2 points
-
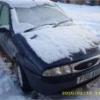
Got the car washed today and the sidelight fixed. Still have to sort out my headlight. It's point away over to the left. Is there a horizontal adjustment on the headlights ? Some pics: My wee helper: Inside all wiped too: Happy days [emoji6] Sent from my HTC 10 using Tapatalk2 points
-
Ive got hekos i put a little pinstripe detail on mine just to make them stand out abit more2 points
-
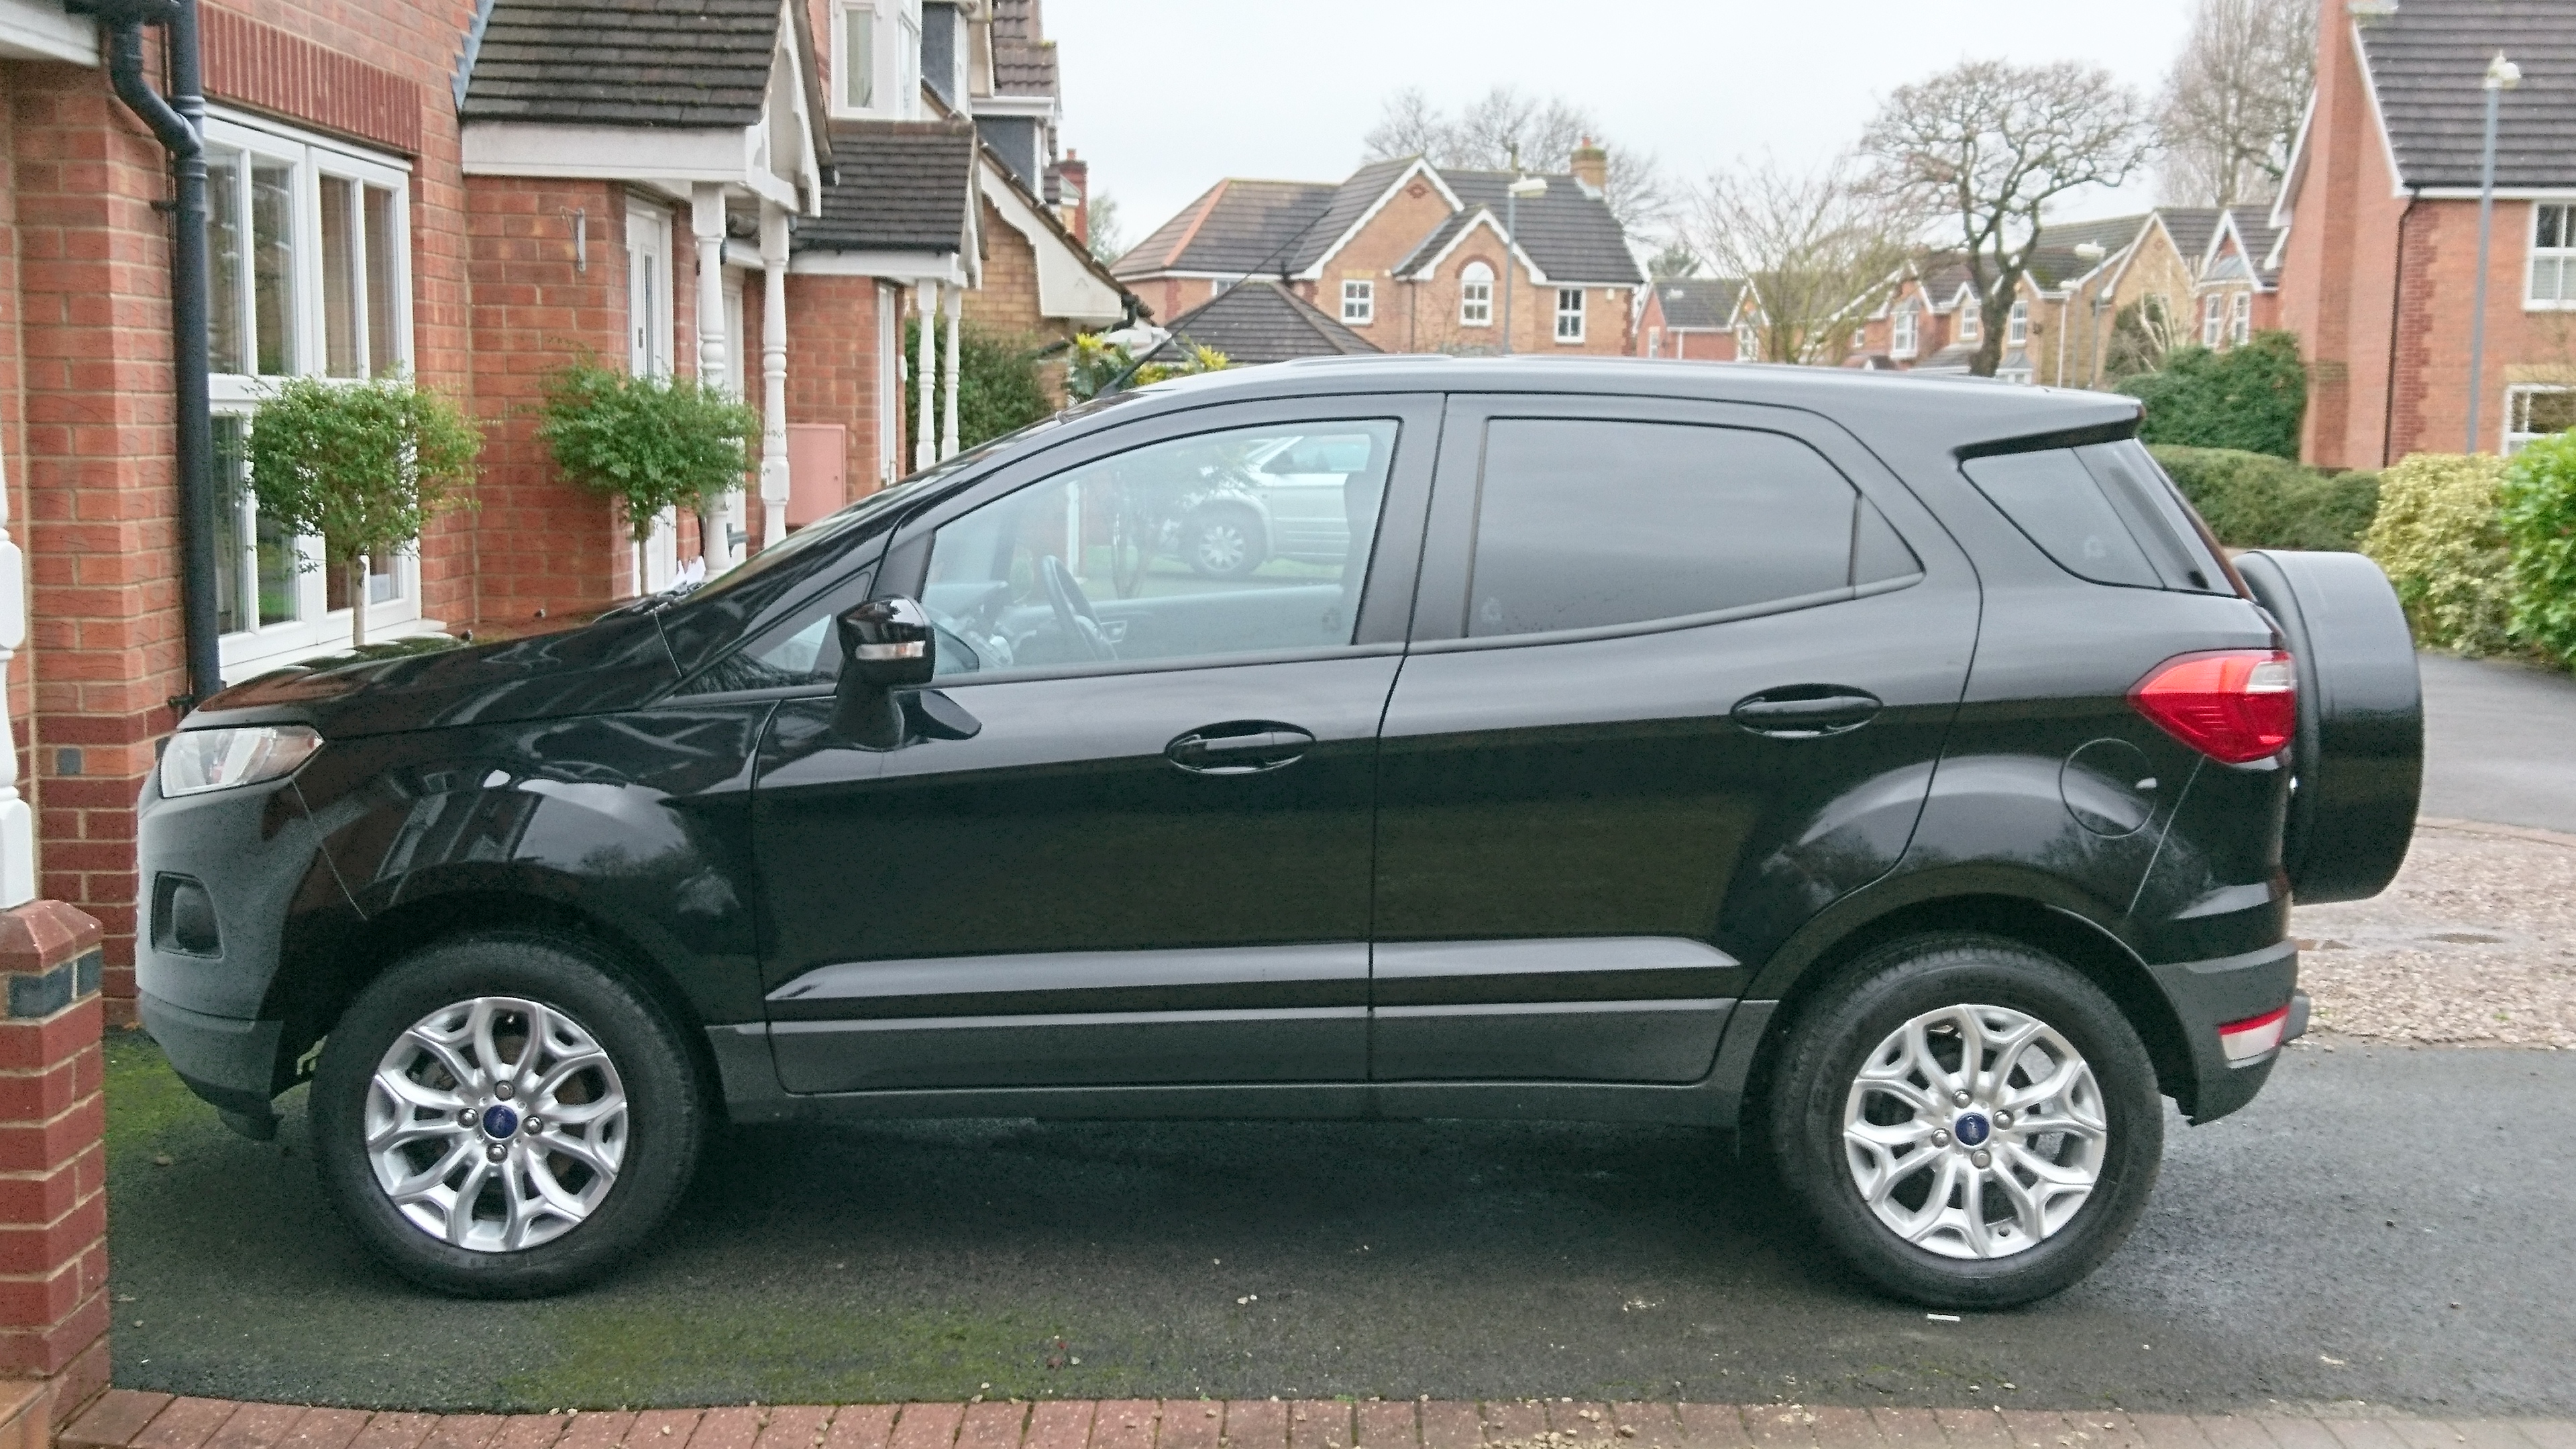
Hello I have just joined, my name is Rob and I live in Birmingham. I own a 2015 Ecosport 1.0 Ecoboost in black. The only thing I have done is tinted the windows. I know they get bad press but I have owned mine from new and I really like it. I drive 15 miles to work and back which is a mixture of town and motorway and I think the car pulls well with the 1.0 Ecoboost engine and I get about 45mpg. It's also drives well with the wife and two kids in the car. Like I said I'm happy with it and it's a decent car for £15k new.
1 point
-
I did lose a pad altogether, once. But I knew something had happened! I was braking from about () 70, for a roundabout. There was a Bang. The brake pedal went right down, and I lost just about all braking. Releasing the brakes, and re-applying them, I got back pretty reasonable braking, and stopped before the roundabout. But I was shaking a bit! And there was a bit of a grating noise from the brakes. I pulled over just after the roundabout, checked my underwear (), it was ok. Then had a look at the brakes, but could not see anything. Tried the pedal a few times, all seemed ok. No puddles of fluid under the car, brake reservoir ok. So I continued the rest of the 20 odd miles back home, but rather carefully. I made sure I was not going to need any more hard braking. The grinding noise on applying them continued, but they worked ok. I narrowed it down to one rear brake, and next day took the wheel off. One pad had lost all its liner. Basically, the pad had worn down, and also come unglued from the backing plate. The liner was thinner than the gap between caliper and disk, and it just escaped, suddenly. The piston then moved forward, causing the brake pedal drop. Once the backing plate was against the disk, then all the other brakes worked ok. New pads fixed the problem. This was a V*****l, so I guess it serves me right! The brakes on this were the dual piston type, not the floating caliper type. I think I prefer the Ford style floating caliper type. Also on that car, rear brakes had a rigid brake pipe, so pad or disk replacement meant disconnecting the brake line, and all the bleeding operations after. Note: If I had continued to press the brake pedal hard, the front brakes should have continued to work, as all brake systems are designed to have some degree or front / rear independence. But there is quite a big pedal movement when you lose an axle. All the above is just an anecdote for infotainment. I have got nothing better to do. Hmmm, That is a lie, I have some urgent work, but don't want to do it! David, your case sounds nothing like this. I do not want to alarm you! My car gets irregular use. Sometimes it goes almost a week just sitting and gently rusting. I tend to have a lot of problems with corroding brake disks. I now service my brakes annually, and remove any rust from those outer and inner areas on both sides. It seem to be making both the disks and pads last much longer. Once rusty ridges build up, the rust can spread into the working area of the disk. It is not always obvious, polished rust can be shiny just like metal. But fairly aggressive application of a file to the rust ridges then chips away and reveals the rust spreading in. Bad corrosion pits would mean replacing the disk, but if caught in time, it can be filed off, taking some care not to file into good metal, and always file in the rotational direction, so any file marks run round the disk. It is a good idea to remove the worst of the ridges when replacing pads. When to replace the disks is up to the individual, as long as the thickness is within specification, and the disk is flat & sound. From Haynes (mk2 Diesel), minimum disc thickness is 9mm for rears, 23mm for fronts. Also caliper bracket bolt torque is 70nm (rear), or 120nm (front), guide pin torque is 35nm (rear) or 28nm (front). The guide pin torques are a bit weird, but that is what it says. Just seen the latest post, my view on new disks is above - It depends on the condition and how much effort you want to put in to cleaning them up. As you have to remove disks to properly see the inside, and then it is a pain to put the car back together while new ones are obtained, if they are serviceable (see above), I would clean them up and re-use them until the next brake service. In my view, ventilated (double) disks are an utter waste of space, unsprung weight and money on a road going car. For the ventilation to work, they need to be rotating fast. But disks are hottest when you have just stopped, or are going slowly down a steep hill. Only when racing with rapid repeated braking from high speed do they have a real use. Anyone who drives like that on public roads these days is a bit of a nutter (in my opinion, anyway!). But even with racing style use, the fronts carry 80% of the braking load, so singles for the back are almost always used.1 point
-
I really hope there's a reverse cables. This is getting tricky and way over my head. Ha.1 point
-
No problem, For the handbrake cable you will need to extend it by a few feet and remove the centre console to splice it in to the cable on the side of the handbrake, I can guide you on removing that too if required 😅1 point
-
If it plays DVD then there Should be one for handbrake cable and another one then for the reverse cable.1 point
-
Can be diplomatic people 😅 but no D are County Dublin plates1 point
-
Was easy enough bulbs are a straight swap 55W each and passed NCT twice 😅 still has a red fog light along side the reverse bulb in a German left hand drive light unit. I've installed an "auto off" to the fog light so if the fog light is turned on. itautomatically turns off while reverse is active than instantly back on.1 point
-
D are diplomatic plates no? Sent from my HTC 10 using Tapatalk1 point
-
Does the harness you've purchased have the ability to swap the red and yellow wires? Some head units use a different pin out. If you provide the exact model and cable harness you've bought we'll be able to tell youl.1 point
-
probably wont wake anyone round your way, too drunk or off there head with drugs up there nose to notice lol1 point
-
Yep, Generally in any case the bright colour is the positive and black is negative. it this case it is for sure 😅 Just ensure when inserting the bulb socket that the correct cables match up on both sides of the socket as the bulb socket can be rotated and re-inserted. also tape up the socket when connected to protect from rain but leave a tab on the tape to allow yourself remove it at a later date if fitting a bulb or different camera, I noticed you mentioned NCT there instead of MOT; are you in Ireland?1 point
-
See, I know Revo are a well established company and have good reviews... So I could go with them... what happened to yours?? Yeah, bluefin, I've heard is super reliable but I've heard of one or two stories of cars going into limp mode etc... i like the simplicity of the BlueFin...1 point
-
Go with revo. There development and testing smashes most other companies, and their customer service is the best ive come across. 10000% do NOT use AET motorsport, long story short my 1.0 is dead 5 days after a visit to them1 point
-
Staking his territory against perceived intruders. Sent from my SM-G930F1 point
-
Red light cameras are usually as conspicuous as Gatso speed cameras i.e. fairly big and often yellow...1 point
-
Thanks for all the info - this has really helped me. I've the parts on order (including the 7mm hex bit you mentioned as my allen key wouldn't do it!) and they should be with me by Wednesday. Working locally so will limp the car until then trying to avoid unnecessary braking!1 point
-
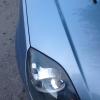
It did cross my mind that a pad could be worn right down, but I did not like to suggest it! In that case, use the car as little as possible until replaced. It can damage the disk with the metal to metal contact, as well as reducing brake efficiency badly. It is hard to be sure from the photos, but if there is any pad left, it must be wafer thin. Pics below show the Groves or Grooves that the pads fit in to. Like Mike says, these grooves take all the braking force, but must allow the pad to slide in and out, if only by a tiny amount. (From http://www.justanswer.com/uk-ford/48y1n-ford-cmax-replace-rear-caliper-pads.html)1 point
-
Like a glove ha. The front deflectors were a bit tricky putting in, but the rear went in easy. The windows have to be closed for 24 hours for them to bed in. They fit into the window channels with no clips needed.1 point
-
I'd like to thank everybody that has helped me along the way with this project. Really enjoyed doing it and pleased that it left in such good form! Stay tuned for the next project :)1 point
-
hmmmm.they look very tidy....how do they fit ??1 point
-
Ah. it will be the water froze in the nozzle and when you squirted the pressure built up and popped the hose, tells me your mix isn't strong enough1 point
-
Thats what i did. Just matched the 19" tyres vs the 17" profile. As for coilovers might need to watch the height whilst using spacers.1 point
-
The car looks absolutely terrific on the last pics! Nicely done with the spacers! Personally I wouldn't go any lower than this, but that's also because our ***** roads, especially now after winter, it's more or less just a bunch of holes where used to be a road lol As for the headlights problem, there should be (at least on FF2 there are) two screws to control the headlights angle, one goes up/down and one left/right. When I'm getting my headlights sorted, the mechanic usually only uses the up/down screw, as there isn't that much ways to get the lights dissorted left/right. I have (had) the same problem, that it looked to me that one headlight is pointing too much to the center, but it only appeared that way when I was close to some object in front of me, during driving it was all ok - as also confirmed by mechanic later.1 point
-
You should never replace pads on one side only. This would badly affect side-to-side balance, at least until the new pads had fully bedded in. Always replace as an axle set.1 point
-
Corrosion/paint damage due to "sometimes sharp edges" of the tailgate handle trim and possibility of grit/dirt getting between it and the paintwork. There has been a TSB since 2011 for it. Speaking to a couple different Ford approved repairers/garages sounded like a common issue but they will not budge on their decision not to help whatsoever due to the warranty having expired (but the Corrosion warranty is separate to the Perforation warranty?). The fix appears to depend on the amount of damage, they have transparent vinyl which goes between the two pieces to stop damage, or there are black/silver vinyl bits that I believe stick out from the trim a bit to cover the damage, or the 3rd option listed is a full panel repair.1 point
-
The Haynes manual states that a second pump is used for the headlight washers. The pictures aren't too clear (are they ever!) but it looks as if that pump is fitted higher up the reservoir so perhaps Vlad has put his finger on the problem. Maybe one of the quick-connect pipe fittings has detached or that pump has worked loose from the reservoir.1 point
-
The motor has gone :'(1 point
-
Had a Lab who wouldnt bark for/at anything Current West Highland Terrier barks at front door/doorbell, strange sounds and people. If she keeps yapping she gets told off Jealous. What situations would you actually tell the dogs to bark??.1 point
-
I really think you'll appreciate the look and feel more once you go lower. Any reason for wanting to go coilovers? I think it's such a waste if you're not going to track the car. Eibach springs are way cheaper and look awesome, and there's no need to change shocks/struts. I need me some spacers now.1 point
-
I believe it is the ABS module self test.1 point
-
Ironically I'm that way with my alcohol - once a bottle is opened it is FINISHED. With cigarettes I can take or leave.1 point
-
When they was working they are much better haha1 point
-
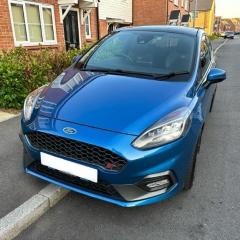
My 2015 ST3 MP 275
1 point
-
No problem, there's no harm in using Mountune parts regardless of the map other than them being a bit pricey. Given that you live in a hotter climate you would probably be better off with an airbox rather than a cone. We've already talked about the Mountune and ST200 ones which are both good options, Finsport do one too. An upgraded intercooler would also be a good idea. If you're never planning on going much past stage 1 then something small like the Mountune cooler would be a good option, Airtec do one also. If you decide to go with pumaspeed don't use their crackle maps as they will cause damage to your engine and catalytic converter. Otherwise with Bluefin go easy in first and second gear.1 point
-
If you have an USB connection to your Bluetooth module this may work for you- Download this update file first- http://www.ford-mobile-connectivity.com/downloadsUpdates In some cases it could be necessary to separate the downloaded "Ford Audio Update" files. Please proceed as follows: Download the "Ford Audio Update" files and save the Zip-File at any location of your Personal Computer. Open the "Ford Audio Update"Zip-File. Extract only the ".bvc" and ".vbf" files corresponding to your current Voice Control language to the highest-level directory of your USB flash drive: English: 8M5T-14D511-AT German: 8M5T-14D511-BT French: 8M5T-14D511-CT Spanish: 8M5T-14D511-DT Italian: 8M5T-14D511-ET Portuguese: 8M5T-14D511-FT Turkish: 8M5T-14D511-JT Example for English language: Choose files "8M5T-14D511-AT.bvc" and "8M5T-14D511-AT.vbf". Extract both from the Zip-File and save them in the top-level folder on a USB flash drive. Please make sure that no other files than ".bvc" and ".vbf" are available on the USB flash drive. If you use the English files then you should be able to set to that language.1 point
-
Checklist: Electric mirror Mirrors (found source) Loom (you have a source) Switch (found) Panels (left side found (right side not so worried atm) 7.5A fuse (not sure if I need it but ill fit one in the 2nd slot just in case) To make them Powerfold Mirrors (have a source for powerfolds) Wires: Simple visit to the hardware store I hope should get everything Switch: (found source) Relay: (Same source as switch) Do you think I am missing something? Thanks1 point
-
Unfortunately the wiring loom is behind the panel, however if the cable is present it could be taped around the front of the panel or even clipped in place at its proper location behind the mirror panel? Here's a couple of pictures of my manual window regulator panel...... Bearing in mind mine is a three door and a quite different to the five door one. This pic is what you will see behind the door card Next pic is the rear of the panel where all the important bits are.... The loom here is the most basic one with no mirrors,or windows, but it shows you where it's located and the route it runs to and from. (I dotted it with a white marker to make it more visible)1 point


-
Popular Contributors
-
1
 unofix
101 -
2
 TomsFocus
88 -
3
 StephenFord
55 -
4
 iantt
iantt
25 -
5
 rd457
rd457
23 -
6
 Eric Bloodaxe
19 -
7
 froggy8
11 -
8
 Tizer
Tizer
11 -
9
 DaveT70
10 -
10
 Ian Lanc
8 -
11
 TrevorB
8 -
12
 Justin Smith
7 -
13
 Kinny
Kinny
6 -
14
 alexp999
6 -
15
 FatHead1979
6 -
16
 willdudeuk
5 -
17
 Buxty
Buxty
4 -
18
 troy45
4 -
19
 eddie eastwood
4 -
20
 party ford
4 -
21
 tom5937
4 -
22
 Chicaaaaas
4 -
23
 Jimpster
4 -
24
 Mark with a Fiesta
4 -
25
 gentil79
4
-


