
Leaderboard


Popular Content
Showing content with the highest reputation on 02/12/2017 in all areas
-
Maxton design3 points
-
11 gallons of Stella "I'll try anything once" spoken like a true Scot @jmurray01 lol So @lenny does that mean someone somewhere is driving around in 171 D 1? Sent from my iPad using Tapatalk2 points
-
bluefin on my focus eco 100. no problems and been on since oct 14, and driven 24k with it on ( car on 51k now) dont drive hard every day but the power is there when i need it. easy to take map off when required.2 points
-
David, you might be ok. What has probably happened is that the pad has worn so thin that the backing plate has started to rub on the corroded ridges that form on thedisc outside the swept area. With luck the actual swept area will still be undamaged. I would take a careful look at the inner surface of the disc when you take the old pads out. If the outer pad has indeed worn so thin and the inner one is still thick it is likely the inner one has stuck in the carrier so has not been contacting the disc much in which case you might find the inside surface is corroded.2 points
-
Ringo seems to have taken to barking randomly on his late night walks recently. Not what you want at 2am...2 points
-
Thanks mate 👍🏼👍🏼👍🏼2 points
-
Yep 👇 Guide to Fitting Genuine focus Mk2.5 ZetecS Front Lip spoiler Click Here Guide to Fitting Genuine focus Mk2.5 ZetecS rear Diffuser Click Here Full ZetecS Kit Fitted to Mk2.5 Focus Click Here2 points
-
So I'm gonna need the lower spoiler from the Zetec S and can't fit it to a standard front bumper?2 points
-
Climair are better quality and are expensive but Heko look allot better on the car. Here is a picture of my Climairs.
 2 points
 -
I don't know about groves but what I meant by the grooves are the sliding faces that locate the pads in the carrier. They are what absorb the forces on the pads when braking. The caliper itself just floats and simply squeezes the pads together. It doesn't take any of the rotational forces when braking.2 points
-
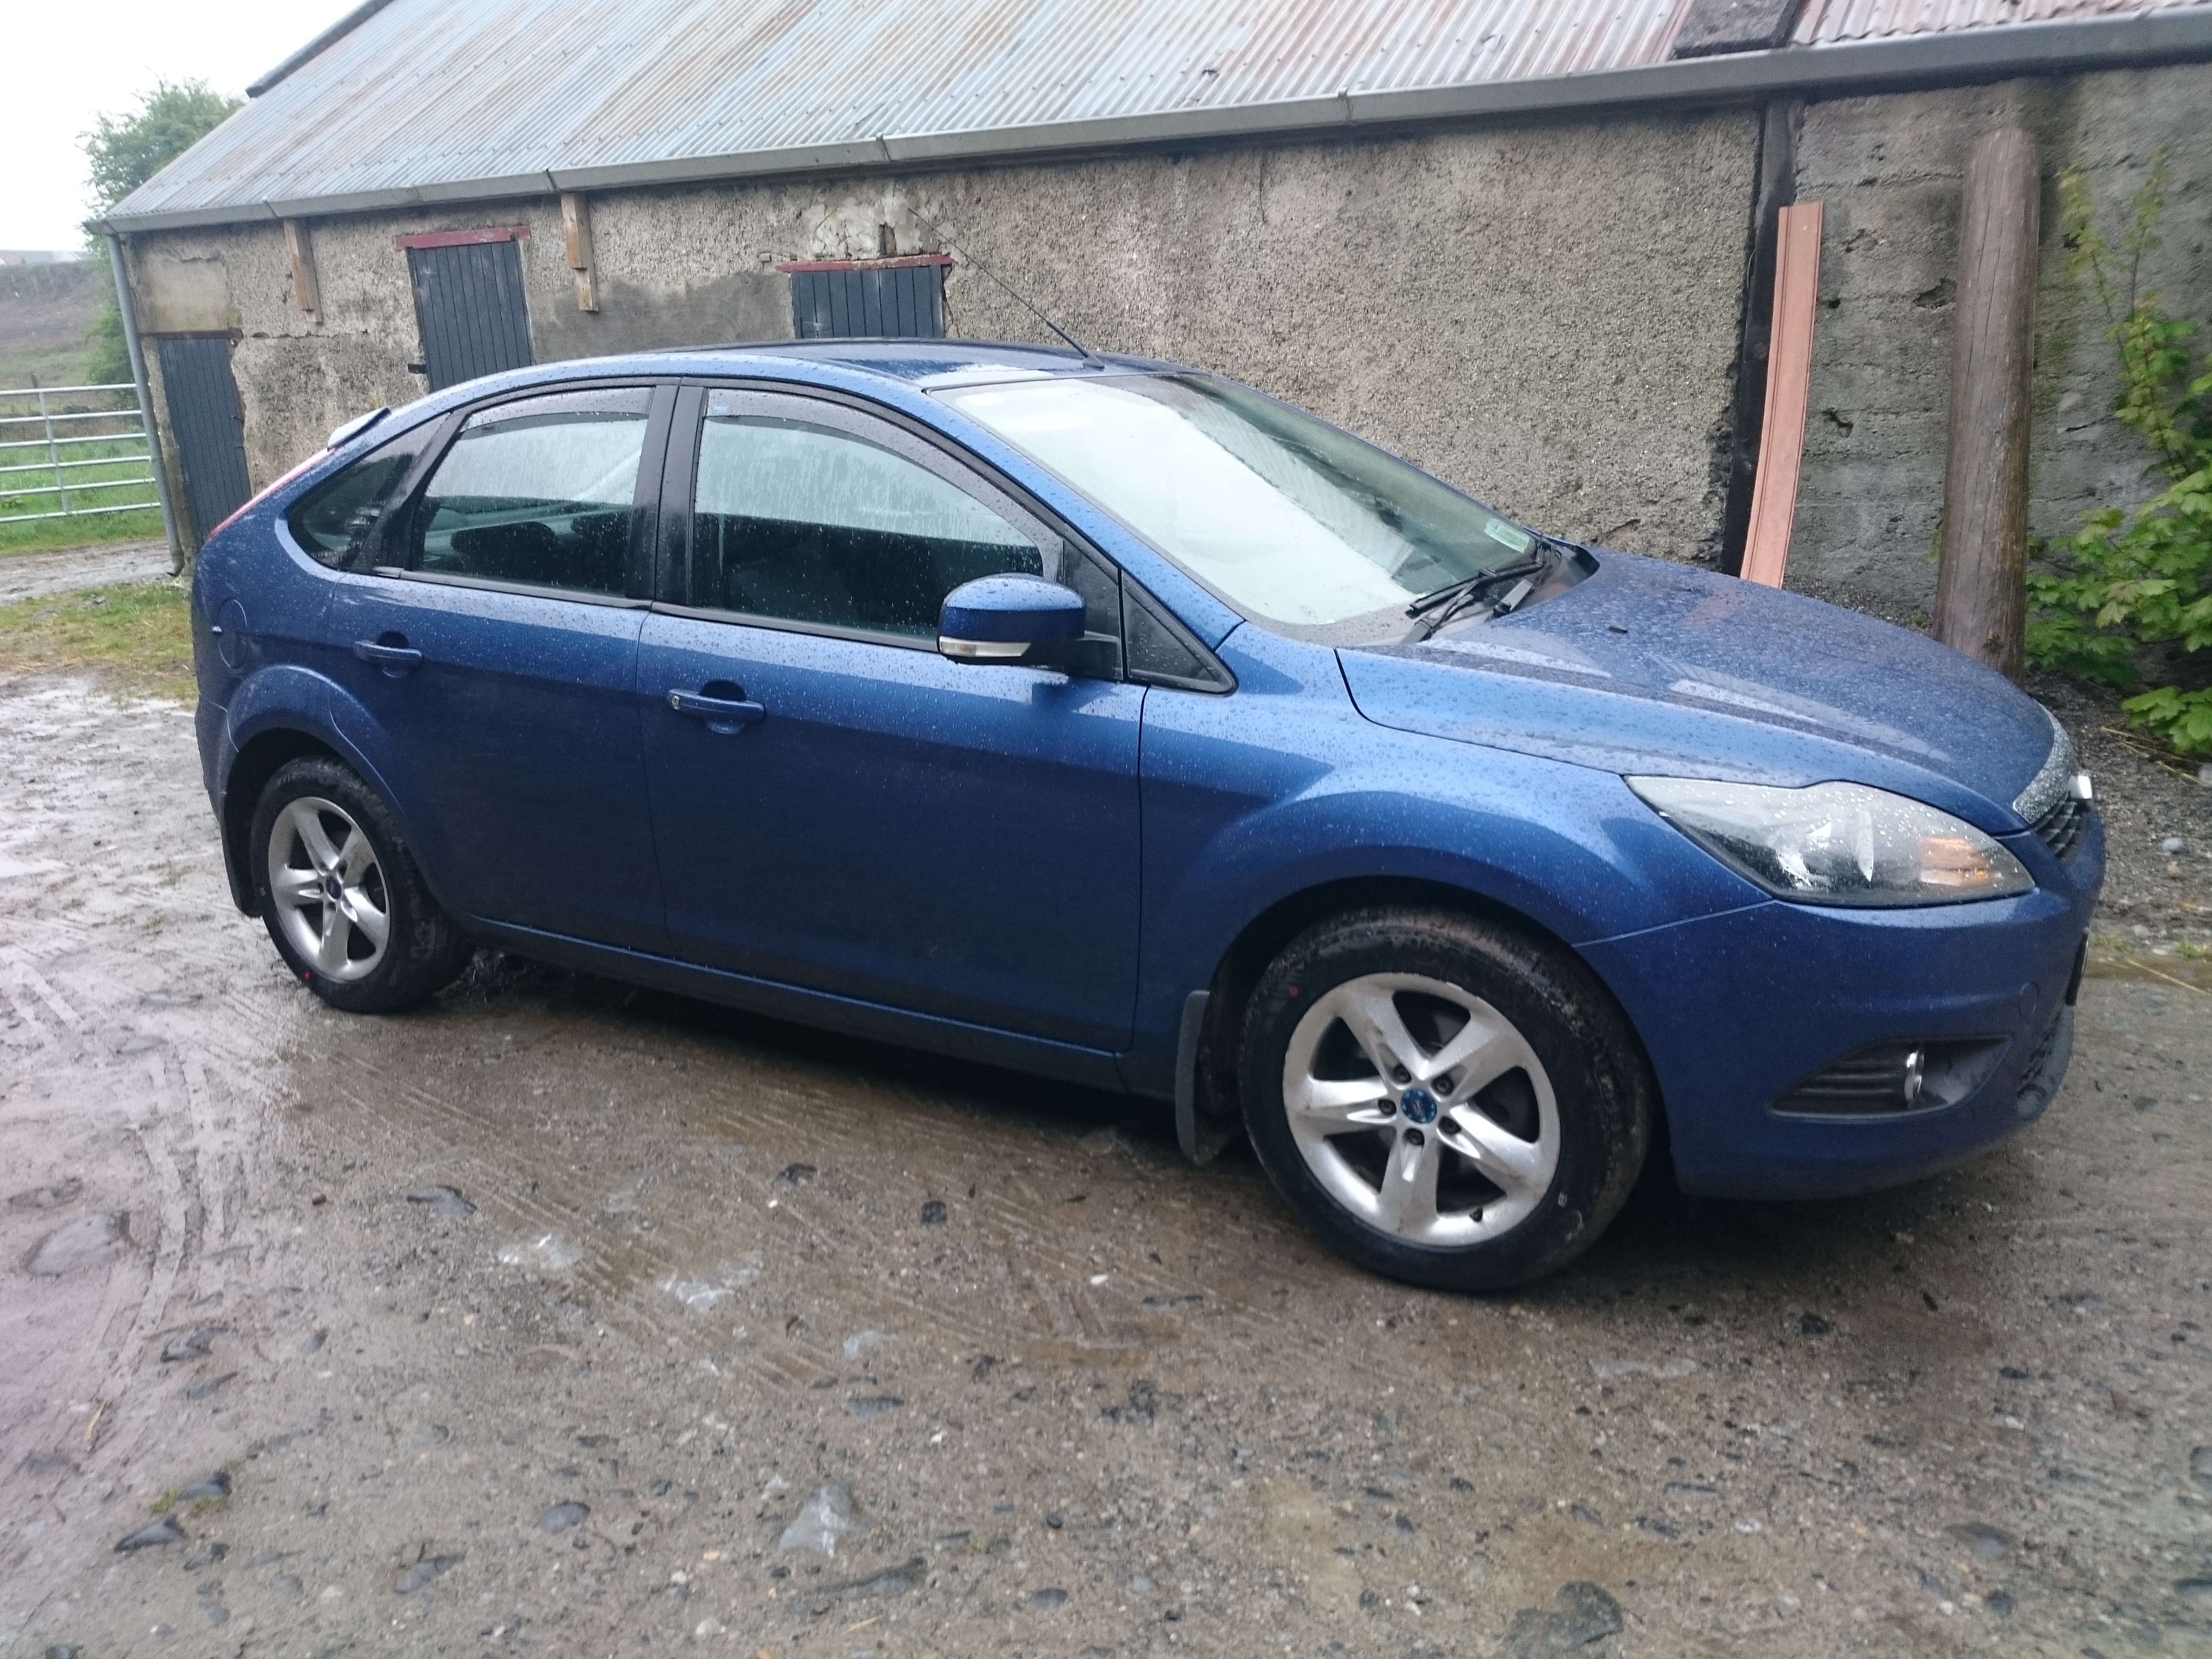
Got the car washed today and the sidelight fixed. Still have to sort out my headlight. It's point away over to the left. Is there a horizontal adjustment on the headlights ? Some pics: My wee helper: Inside all wiped too: Happy days [emoji6] Sent from my HTC 10 using Tapatalk2 points
-
Ive got hekos i put a little pinstripe detail on mine just to make them stand out abit more2 points
-
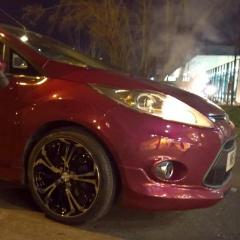
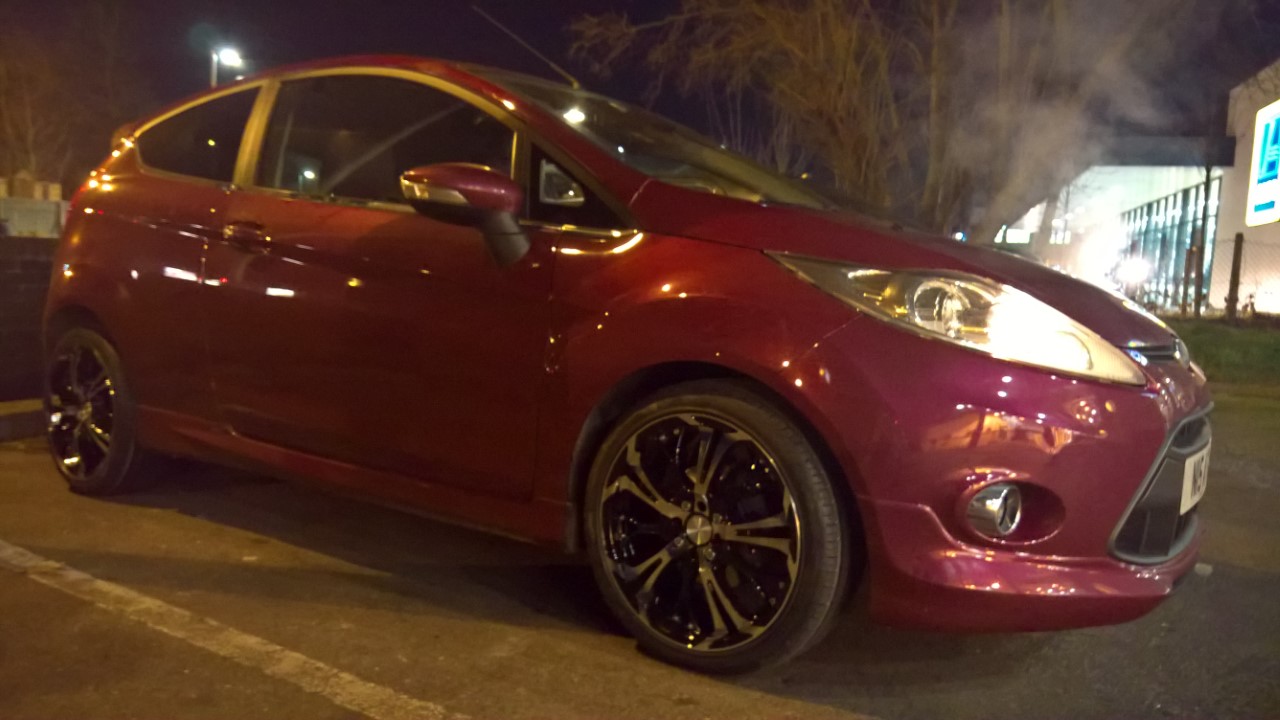
Firstly, hi all, I'm new to this forum! :) I recently bought new alloys and had them fitted and since then I feel like making a lot more modifications to my fiesta to make it look and feel more sporty! My car is hot magenta and I would like to get some brake calipers fitted which would go well with that colour. Anyone have any colour suggestions? Pic of my car attached.....although it's dark and not a very good angle....! Thanks :)
1 point
-
Hi all, Just saying hi from Berkshire.. Have owned my Fiesta Titanium 1.0 Ecoboost 123 for a year. Great to drive, surprising performance from such a small lump. Anyway, the fiesta is coming up to end of warranty so have decided it's time for a remap. Off to the forums! All the best Ed1 point
-
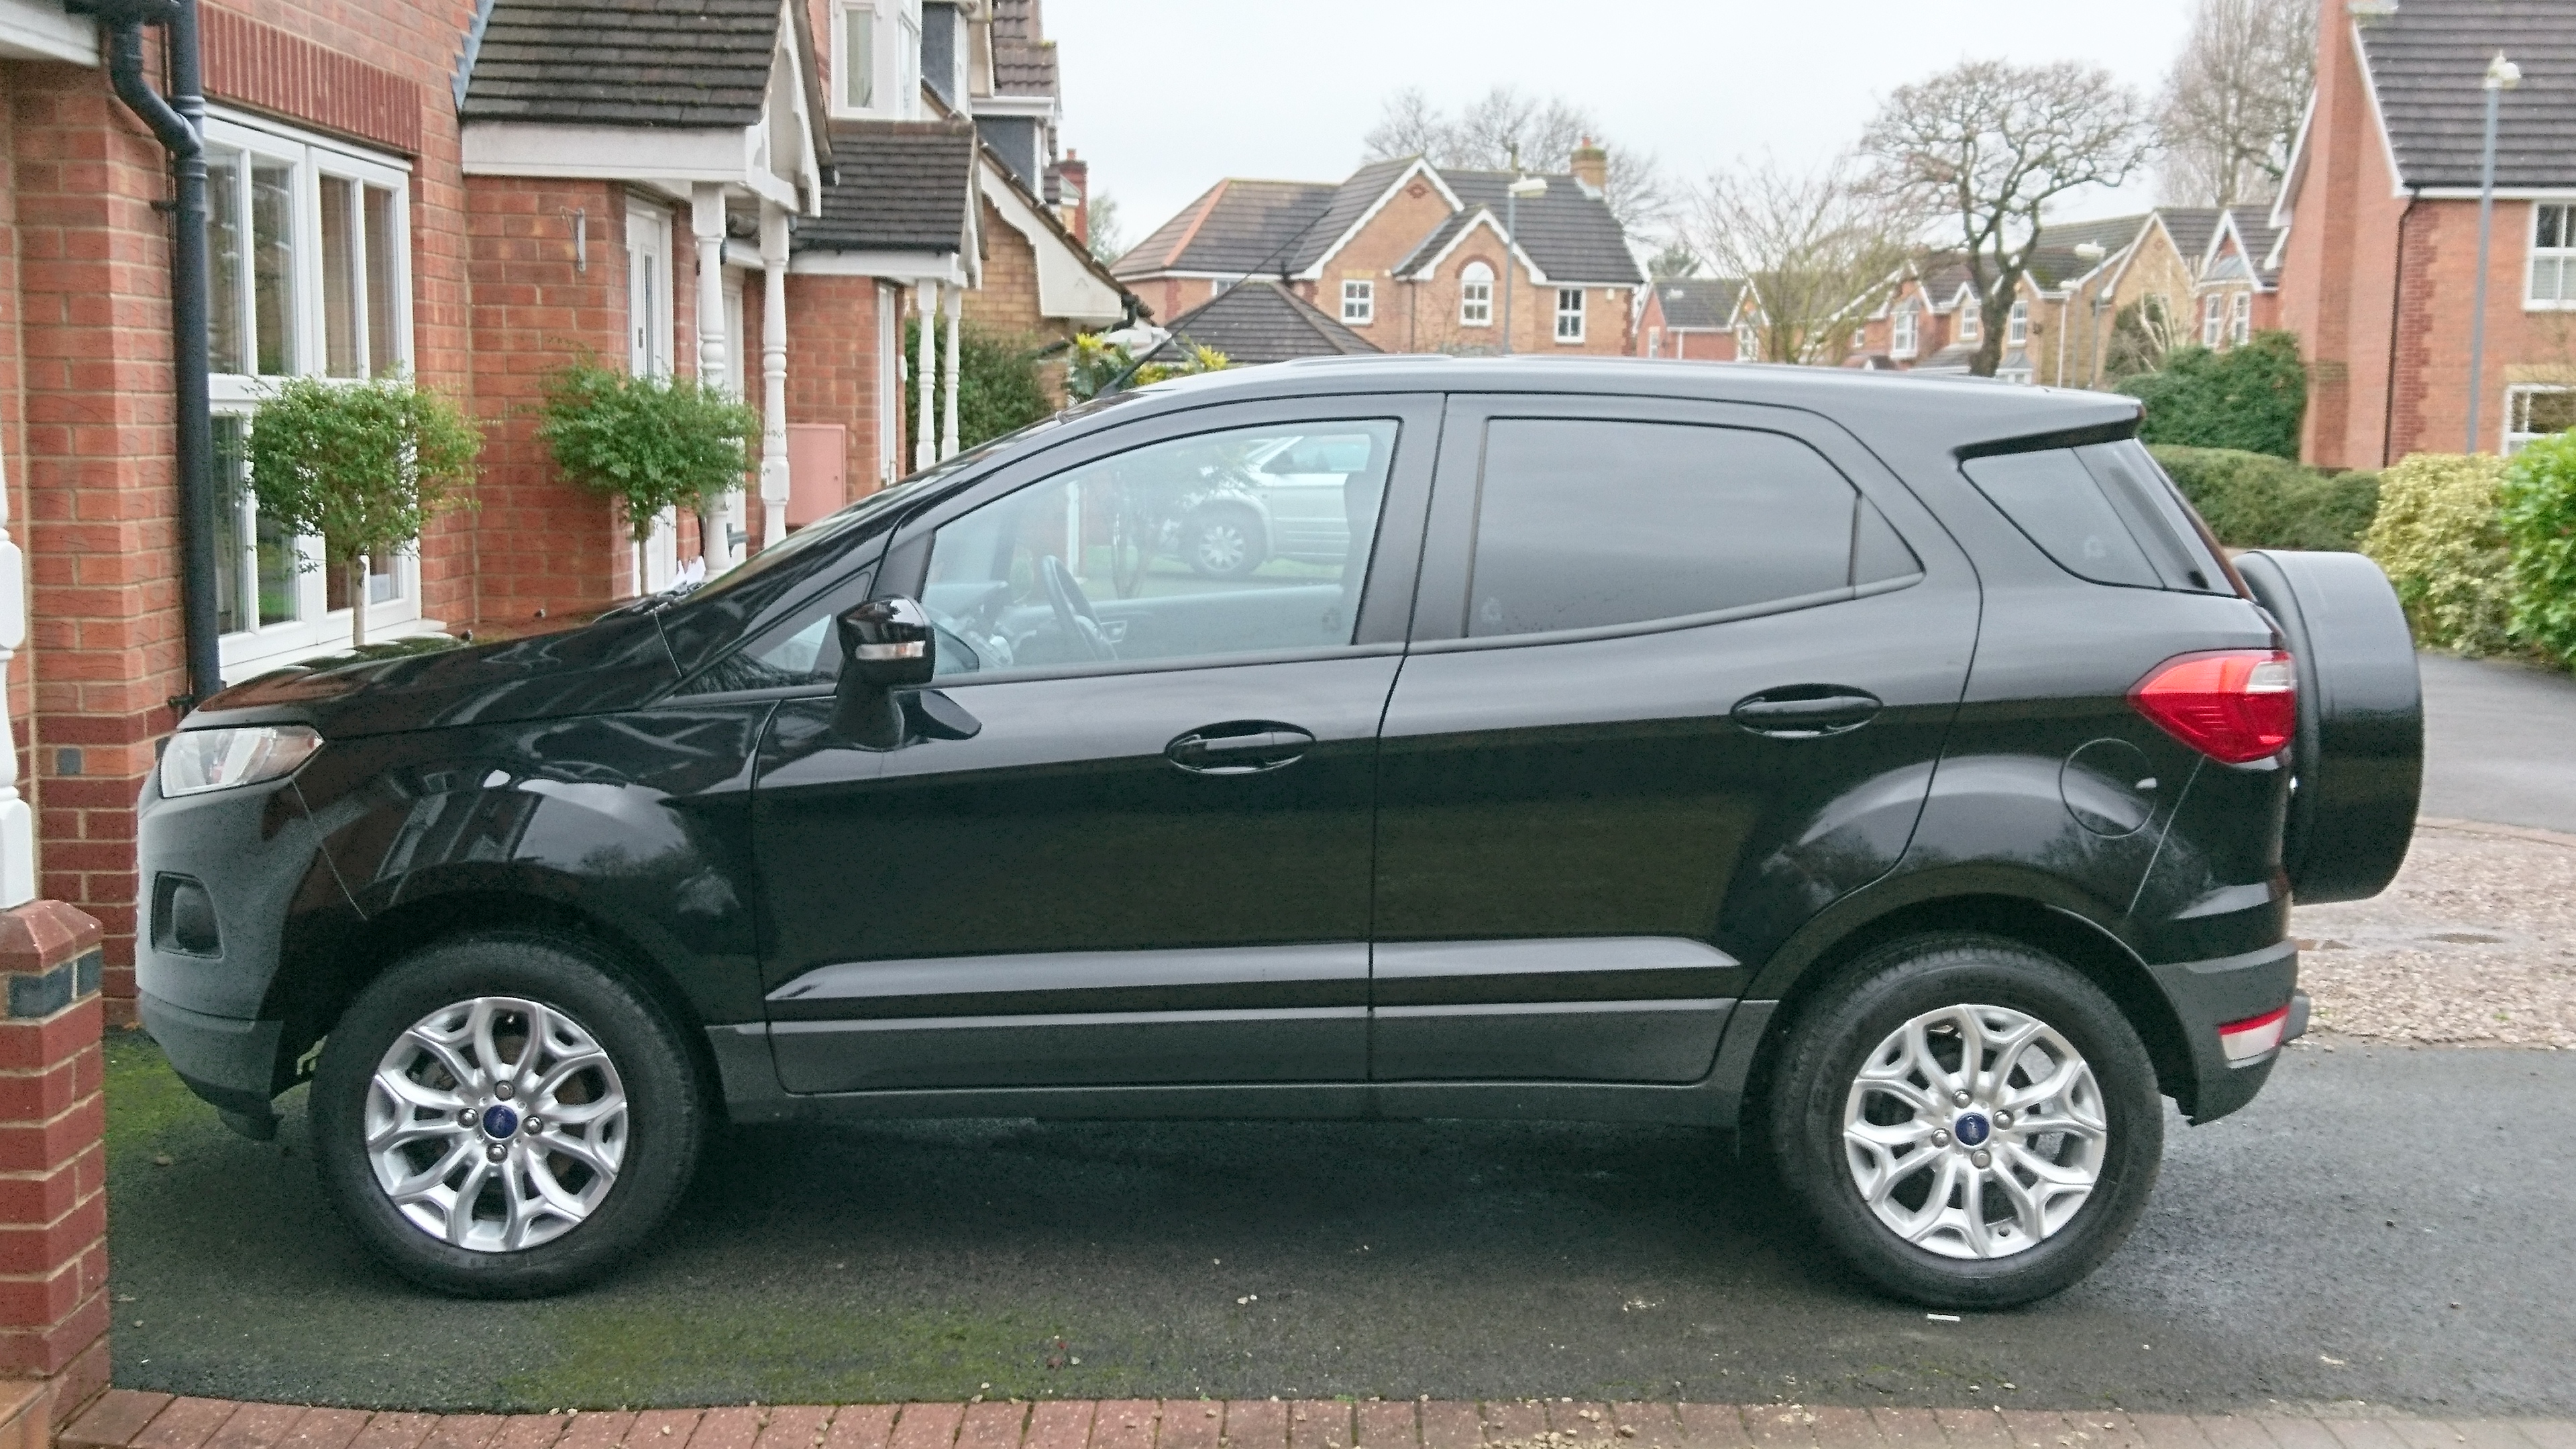
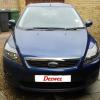
Hello I have just joined, my name is Rob and I live in Birmingham. I own a 2015 Ecosport 1.0 Ecoboost in black. The only thing I have done is tinted the windows. I know they get bad press but I have owned mine from new and I really like it. I drive 15 miles to work and back which is a mixture of town and motorway and I think the car pulls well with the 1.0 Ecoboost engine and I get about 45mpg. It's also drives well with the wife and two kids in the car. Like I said I'm happy with it and it's a decent car for £15k new.
1 point
-
If it plays DVD then there Should be one for handbrake cable and another one then for the reverse cable.1 point
-
The end that is behind the headunit; connects to the reverse sensor cable which should be in the wiring of the headunit itself. this then automatically switches the headunit screen to displaying the camera when reverse is active👍1 point
-
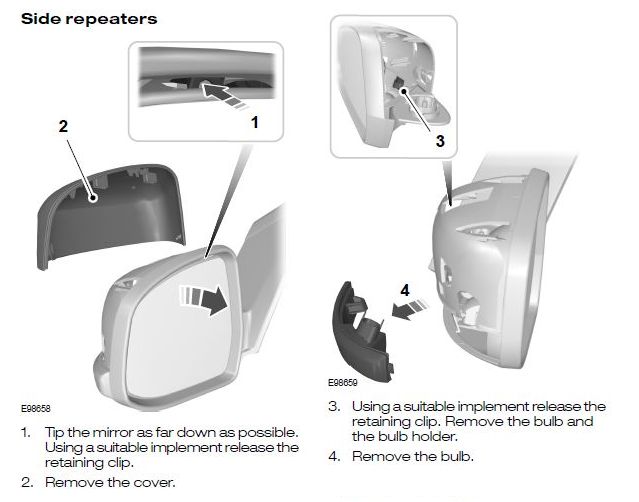
Was easy enough bulbs are a straight swap 55W each and passed NCT twice 😅 still has a red fog light along side the reverse bulb in a German left hand drive light unit. I've installed an "auto off" to the fog light so if the fog light is turned on. itautomatically turns off while reverse is active than instantly back on.1 point
-
Excellent, that should help when I'm putting the head unit back in, thanks so much for everything Lenny, really appreciate it.1 point
-
probably wont wake anyone round your way, too drunk or off there head with drugs up there nose to notice lol1 point
-
Yeah, based in Dublin myself. Thats a good tip about the wire colours. Glad I can keep the bulb socket in place if ever needed again. Are these cameras OK with the NCT, they fail for some crazy stuff. Good tip too about taking the air vents out, would have saved me a bit of hassle and my knuckles. Do they just pop out?1 point
-
Yep, Generally in any case the bright colour is the positive and black is negative. it this case it is for sure 😅 Just ensure when inserting the bulb socket that the correct cables match up on both sides of the socket as the bulb socket can be rotated and re-inserted. also tape up the socket when connected to protect from rain but leave a tab on the tape to allow yourself remove it at a later date if fitting a bulb or different camera, I noticed you mentioned NCT there instead of MOT; are you in Ireland?1 point
-
Wow, thanks Lenny for such a detailed response. Definitely a bit clearer now. I'm going to go with option B for connecting the wires as I want to try and leave the stock light in case I need to connect a bulb for things like the NCT. Think I'll leave it till Saturday now to go at it as I wouldn't get it done in an evening after work. The different colour wires confused me when I saw black and yellow wires but red and black on the new camera. I'm a carpenter so have all the tools but when it comes to connecting wires I'm totally lost and nervous. So just to confirm yellow to red and black to black?1 point
-
Hi mate, I'm going to use some images from my archives to best help with my response I'll type it out then edit with images. when fitting the headunit in the mk2 or mk2.5 focus; it's best to remove "the centre air vents" this allows you to fit your hand inside the dash and lift the cables in at the rear of the headunit As shown in the Guide here: Guide to Fitting Aftermarket headunit focus Mk2 & Mk2.5 Click Here The weather is brutal today mate, I fully understand your decision to abort the task of fitting the camera. There's two options regarding the cable connections; A: hold off a few more days and purchase an led pad which will come with a T10 bulb socket adaptor, use this bulb adaptor to connect your cables together plugging it in to the factory bulb socket matching red to Orange and black to black make sure the bulb socket corresponds correctly as it can be fitted both ways. B: Splice the factory cables like peeling a banana and strip a section of the new cable wrap the new cable around the stripped cable and tape it up tight with PVC tape, Option B is more of a long term commitment to a cheap piece of equipment to be honest id prefer to keep it plug&play because you would fail an MOT if the led it it ever stopped working as a registration plate light. When fitting the camera you have already removed the inside panels, I suggest going to your local DIY store and purchasing a tube le clear bathroom silicone and a gun to apply it, alternatively DEALZ stock both items. you will need dry weather for this; as you will open the boot and remove the parcel shelf storing it somewhere safe, bring a pen & paper aswell as a cushion with you along with the required socket and wrench i think its a 10mm Sit down on the boot sill and bring the boot door down on to your lap, this is the easiest way to work on the boot door as you can store the tools behind your back aswell. Sit the cushion next to you on the boot door sill; this will prevent the boot from closing at later stage when your not sitting there. now disconnect the loom feeding to the ouside boot handle and registration lights by simply unplugging it. next you need to undo the 06 lock nuts from inside the boot panel, these nuts are holding the outside boot handle. Left Side:Right Side: This is very important; when removing each nut - count the number of rotations it took to remove each nut and write it down. the reason for this is because the bolts of this panel are part of the plastic mould and they will very easily rip out of the plastic panel if over tightened when refitting. anyways, With the nuts removed, stand up outside and lift the plastic panel asway from the boot panel, squeeze the rubber grommet which is surrounding the loom and bring it to a work bench or kitchen table. You can now slot in the camera, and move on to connecting the cables as discussed earlier and whichever way you have chosen to do. then using a scissors or knife; cut the head off the second grommet point on the rubber grommet feeding in to the boot; Feed the video loom through this grommet to the inside of the boot door. it's now ready to be returned to the vehicle, First; insert the rubber grommet on the outside of the boot door and make sure it's in correctly. then line up the boot planel on the door ensuring the bolts are all going through the holes. Using the bathroom silicone now: on the inside of the boot door, Bring the boot door down on to your lap and apply a small ring of silicone around each of the bolt entries before applying a bit and counting the rotations. start with outter bolts then centre ones. All outside work is now done, you just gotta link up the video cable and reverse feeds as shown at the start of the guide here: Guide Installing Reverse Camera Focus Mk2.5 2008 - 2011Click Here1 point
-
Thanks for all the info - this has really helped me. I've the parts on order (including the 7mm hex bit you mentioned as my allen key wouldn't do it!) and they should be with me by Wednesday. Working locally so will limp the car until then trying to avoid unnecessary braking!1 point
-
1 point
-
Like a glove ha. The front deflectors were a bit tricky putting in, but the rear went in easy. The windows have to be closed for 24 hours for them to bed in. They fit into the window channels with no clips needed.1 point
-
I'd like to thank everybody that has helped me along the way with this project. Really enjoyed doing it and pleased that it left in such good form! Stay tuned for the next project :)1 point
-
The sprinter is for a mk2.5 zetec s as Lenny says but I think that if you put the lower lip for a zetec S on to a standard spoiler you can then fit the splitter for the zetec S thanks for the quote by the way1 point
-
TripleRcomposites custom built them specifically for the ZetecS aswell as a different shaped one for the ST models Mk2 & Mk2.51 point
-
Thats what i did. Just matched the 19" tyres vs the 17" profile. As for coilovers might need to watch the height whilst using spacers.1 point
-
My Ti X has dimmable multi colour LED with about 5 colour choices to select. My favourite is the light blue that's similar to the dash lighting on the MK 3.5 or amber. Maybe visit a local Ford dealer that has a Ti X and see what you prefer.1 point
-
Nice m8 wheels look spot on Lovein the blue lip sorta thing lol.. I've order the rs bonnet vents and that lip extension thing off fleabay only tenner shud get that tomarro Sent from my iPhone using Tapatalk1 point
-
You should never replace pads on one side only. This would badly affect side-to-side balance, at least until the new pads had fully bedded in. Always replace as an axle set.1 point
-
The Haynes manual states that a second pump is used for the headlight washers. The pictures aren't too clear (are they ever!) but it looks as if that pump is fitted higher up the reservoir so perhaps Vlad has put his finger on the problem. Maybe one of the quick-connect pipe fittings has detached or that pump has worked loose from the reservoir.1 point
-
I'm already on H&R 35mm. Not low enough for me. Still getting arch gap. It's coilovers or go 19 alloys. That looks great . Sent from my HTC 10 using Tapatalk1 point
-
Had a Lab who wouldnt bark for/at anything Current West Highland Terrier barks at front door/doorbell, strange sounds and people. If she keeps yapping she gets told off Jealous. What situations would you actually tell the dogs to bark??.1 point
-
Ive got 25mm on the rear of mine1 point
-
All makes sense, thank you. One thing I'm not clear about though: For the problem to be guide pins, and considering the rapid uneven wear, it's fair to say they've been sticking for quite a while. However, the scraping/grinding noise only started yesterday. Why is that? Hope I'm not missing something here...... I notice in the haynes manual regards to bleeding after working on caliper; 'If the MC has been disconnected and reconnected then the complete system (all circuits) must be bled of air. If the component of one circuit has been disturbed then only that particular circuit need be bled'. Am i right in thinking then, that it my case i only need to bleed the rear nearside wheel as that's the caliper that will have been tampered with and this is what it means by 'one circuit'?1 point
-
I really think you'll appreciate the look and feel more once you go lower. Any reason for wanting to go coilovers? I think it's such a waste if you're not going to track the car. Eibach springs are way cheaper and look awesome, and there's no need to change shocks/struts. I need me some spacers now.1 point
-
It sounds like filter block in the bottle due to screen wash. On my focus working fine then slowed down to like drip. Had to take wheel lining off to access the bottle. Hope this helps1 point
-
I believe it is the ABS module self test.1 point
-
Had mine for a few months, Heko from eBay just over £20 all 4 doors no problem. The metal clips useless, I just used a little glue that I use for everyday things no worries, I can tell you the name of the glue if you want.... I leave the windows a little open all the time: helps with winter blues window condensation. So the noise may be in the summer when the windows are more open....I do not know?1 point
-
Yea after I reset it car has been fine. Drove a total of about 25ish miles and no issues. In just over a week I have appointment with ford to get a second key made up. So I've got a good week to make sure there's no issues. If there are I will obviously let Ford know and get them sorted1 point
-
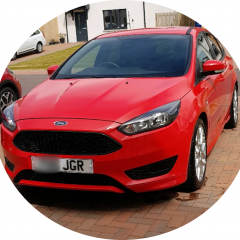
I love people whom purposely double park there brand new 171 registered vehicle outside shopping centres, so they can say to everyone around them "ow that's mine" when the customer service desk call it out over the intercom vehicle model and registration 😁1 point
-
Hi Welcome1 point
-
Up here at least the two places never to go for an MOT are main dealers and Kwik-Fit. Both will almost guarantee a fail and charge you the earth for parts and labour to fix the issue(s). An honest independent garage is best, as they have a reputation to keep and won't fail unless there is actually something wrong. That's my experience though, so it could be different where you are.1 point
-
I did that to the wife's car, didn't tell her until the day before we had to sign and I only told her then cos it was her car lol. She had a two yr old 1.0l eco 125 in white, think it was a tit with low mileage. Dealer rang me and said he could do a good deal on another new fiesta but this time in red and a tit X, same engine. Worked out to be £11 less a month for a newer better spec car! So I jumped at the chance, the wife was proper ***** off though, saying I didn't need to swap it as nothing wrong with her current car. 1 week into the swap and she prefers the new one Sent from my iPad using Tapatalk1 point
-
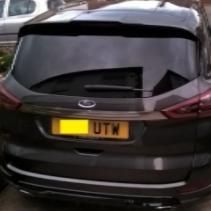
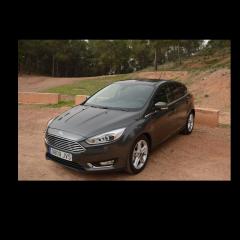
Hello guys. This is my Titanium 1.5 Tdci 120 manual that i received on the 29th of December 2016. It's got a few optionals as well: Magnetic Grey paint, Door protectors, Titanium travel package(Bixenon adaptive headlights, 17'' wheels with Michelin Primacy HP-would have liked Primacy 3-, Satnav with 9 Speakers Sony unit and Sync 3, Reverse camera, City+ Package-Active Park Assist, Sensors front and back, Powerfold Mirrors with puddle lights-, 16'' spare wheel and smokers package (this last 2 were on the car because the car was already built and i didn't want to wait 3 months). Before i had a Fiesta mk7.5(2013) Titanium 1.6 tdci 95HP in red and it's a big difference between the 2, although in some aspects the Fiesta was nicer inside. A nice ish surprise were the puddle lights (although they have a halogen bulb) and the reading lights which they are all Leds. Sync 3 works well, Android auto too but the menu is a bit simple (i would have liked some more menus to adjust some things) and i don't get the climate on the touchscreen. Overall i really like the car but i find it a bit small inside. If i drive in my driving relaxed position who seats behind me will be uncomfortable (I'm 1.78-5'10). Also the gear stick is a bit far to the right because of the parking assist buttons. In the boot I have some issues. Only 1 boot light on the left side and if you look up above the bag hooks on both sides looks like a piece of plastic is missing. I can see wires and some sort of insulating material. Hope you like the photos!
1 point
-
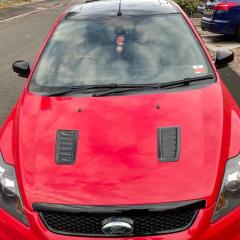
My 2015 ST3 MP 275
1 point


-
Popular Contributors
-
1
 unofix
90 -
2
 TomsFocus
75 -
3
 StephenFord
50 -
4
 iantt
iantt
36 -
5
 Eric Bloodaxe
19 -
6
 DaveT70
15 -
7
 alexp999
14 -
8
 RayC333
11 -
9
 mjt
mjt
8 -
10
 Paulkp
7 -
11
 ssmith93
6 -
12
 Turvey
6 -
13
 froggy8
6 -
14
 D3rks
D3rks
5 -
15
 Alan G H
5 -
16
 RL123
RL123
4 -
17
 orangecurry
4 -
18
 lphuk
lphuk
4 -
19
 Dan62
Dan62
4 -
20
 Dark Andy
4 -
21
 Bol
Bol
3 -
22
 nicam49
3 -
23
 tazzman600
3 -
24
 Simmo80
3 -
25
 simonb65
3
-


