
Leaderboard


Popular Content
Showing content with the highest reputation on 06/15/2017 in all areas
-
I do like fitting in an extra walk with Pipper this afternoon. We went down the old roman road to the Council owned property of Upton House, where among other things is a small lake come large pond, just for dogs to play in..Pipper loves water. Pipper's reaction to spotting the lake as we walked through the adjacent wood was rather amusing. Having walked in stoical plod beside me for the 3½ mile walk down there: she suddenly took off, leapt over a gate, swerved around 2 old ladies with a small terrier, then went through the legs of tall heavily built bearded man (ZZ Top style beard) with a greyhound and sprinted directly to the pond. Whereupon, she launched herself upwards towards the middle, joining the 2 fellow liver and white spaniels, a near white GSD and a marl grey collie who were already splashing about2 points
-
2 points
-
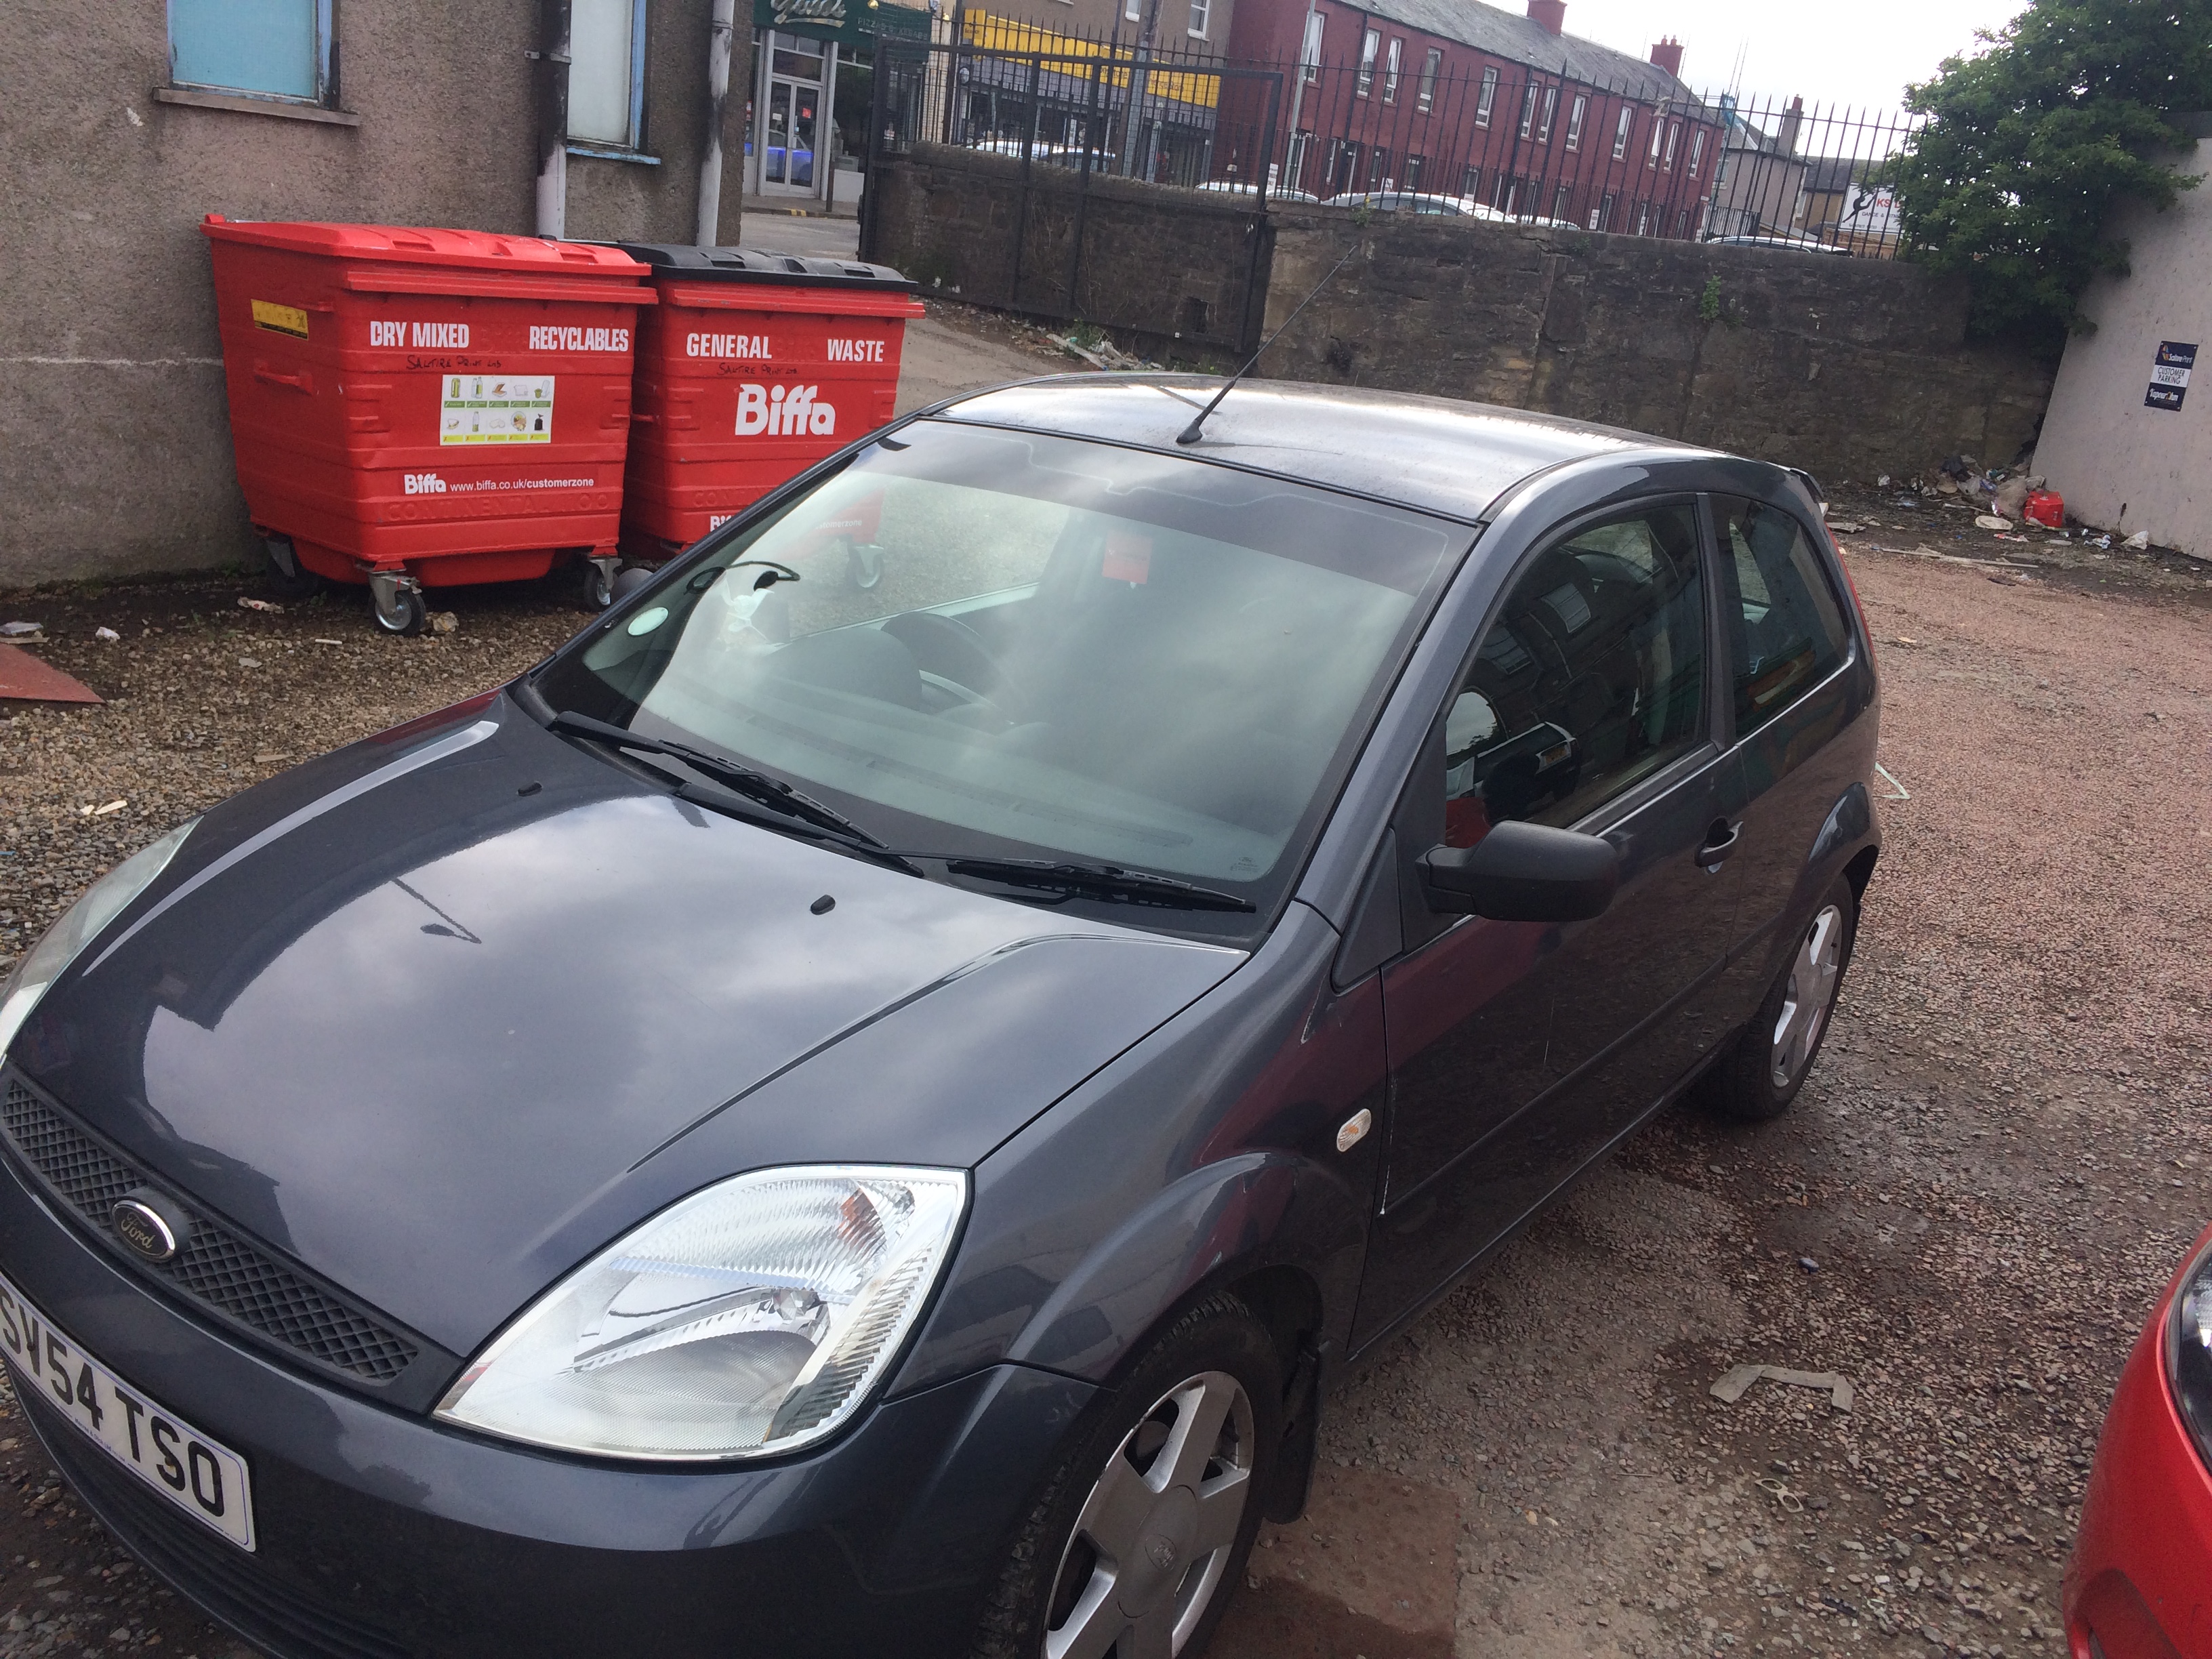
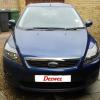
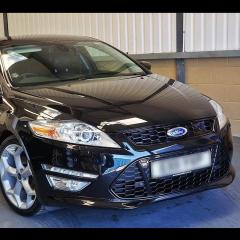
Welcome Darren, pretty new myself! all fords are welcome here! is that the mk4 or 5?2 points
-
Will be testing next 2 weeks if it was worth buying :D2 points
-
@Stoney8712 points
-
2 points
-
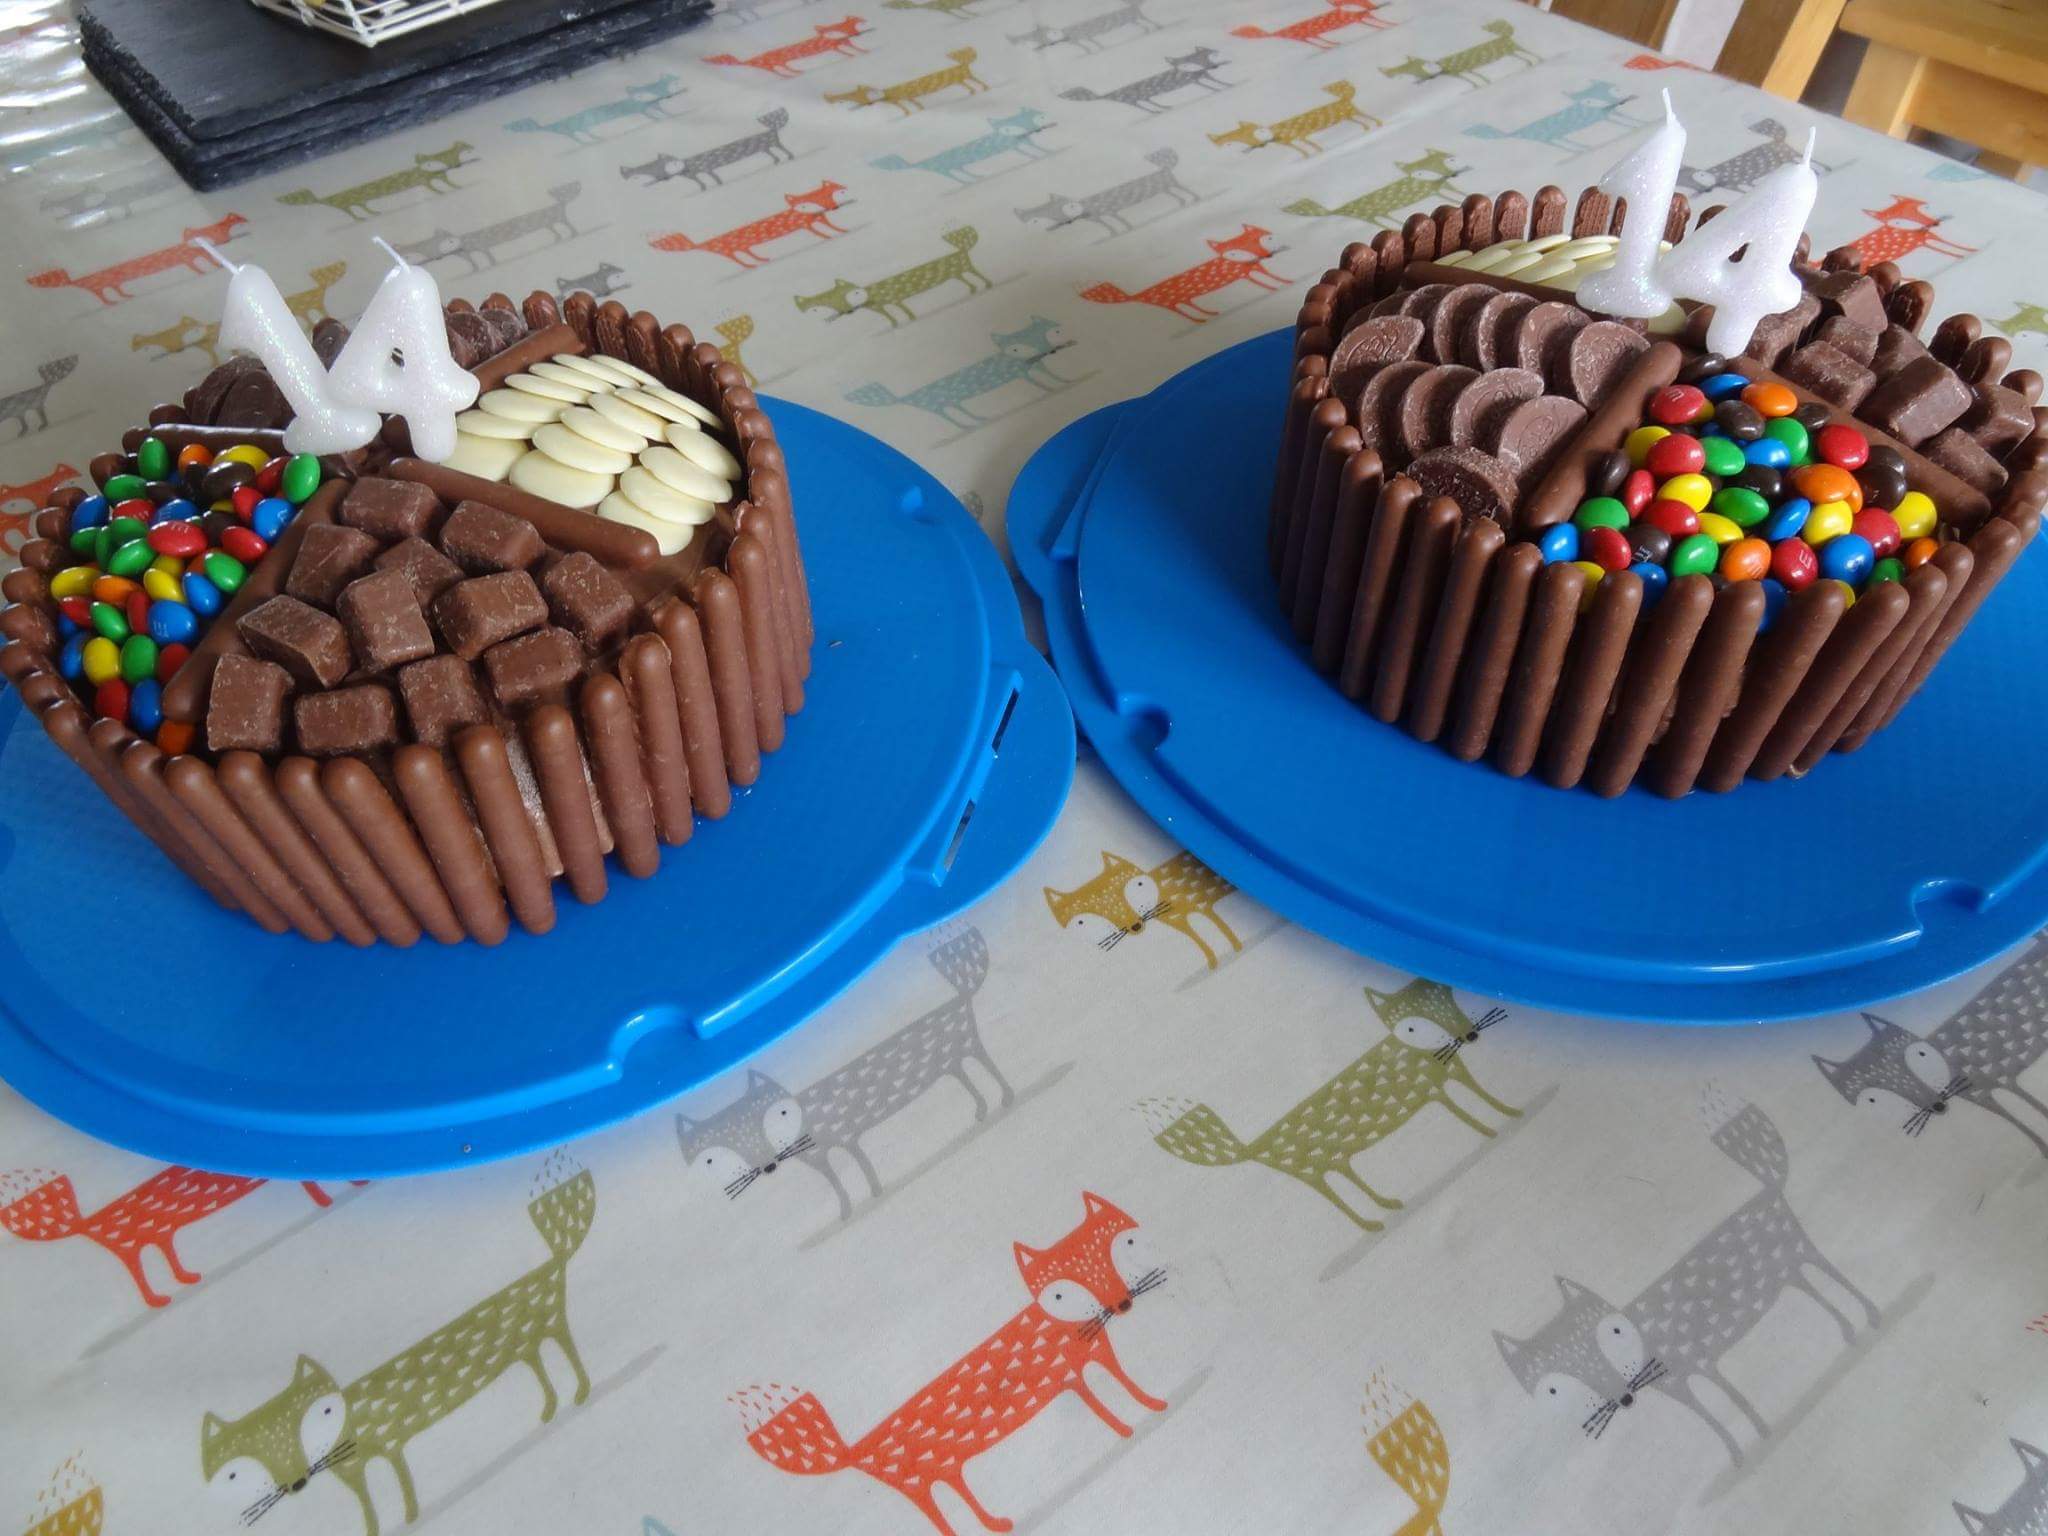
I do like one of the advantages of having twins.... ......2 birthday cakes!!!
 2 points
 -
Hey FOC About time I pulled my weight around here, So I thought Id make an English guide of how to upgrade/replace the MK7 Fiesta bulbs. Covered in this guide: # MK7 bulb types # How to remove the MK7 Headlight (Including pictures of the dreaded retaining Clip MWHAHAHAHAHAHAH ... pfft ) # How to Change over the MK7's sidelight, dipped beam & Indicator bulbs # How to Safely replace the MK7 Headlight back into the mounting MK7 Bulb Types Here is a brief list of the Bulbs for the MK7 Fiesta, these are also noted in your handbook. Front Lights: Fullbeam - H1 Dipped beam - H7 Sidelights - W5W Front Fogs - H11 Front indicators - PY21W Side (wing mirror) indicators - WY5W Interior lights: Interior light - W6W Reading lights - W5W Footwell lights - W5W Rear indicators - PY21W Brake & tail light's - P21/5W Rear fog light - P21W Reversing lights - W16W Number plate lights - W5W ------------------------------ Removing The Headlight: To Replace ANY bulbs in the headlight, the headlight itself must first be removed. The Headlight is fixed to the car by 2 bolts, 1 plastic rivet & 1 clip at the bottom (More on this later) One bolt at the top of the headlight - One bolt & a Rivet at the bottom of the headlight - The bolts simple unscrew, store the washer and bolt some where safe. The rivet comes in two parts, both simple pop out and do not require any other motion. There is a small gap that allows you to get your finger nail or screw driver underneath the first part and pull it out. After the first is removed, the bottom part pops out also Before removing the headlight, you need to remove the electrical connector (The purple plug) The best method to remove this, is to prize a flat head screw driver in and underneath the clip & tilt. You will hear a small click & with the screwdriver still in place the connector can be removed. DO NOT pull the connector from the wires, the connector should come out fairly easily with the screw driver in place. I removed mine with thumb and fingers of my left hand ... very little struggle at all. The Headlight is anchored in with little tabs on the headlight itself So the best method to remove the headlight is to tilt the headlight slightly away from the engine bay and then pull the headlight up and towards the windscreen. Place one hand underneath the headlight nearest the bottom (grill) and another underneath the top section where the first bolt was removed. Keep reading if you need more help.1 point
-
Hi folks, i'm new to the ford scene as well as the driving scene haha, i'm a proud owner of a 2004 fiesta flame :) not the best ford out there but for £120? i can't go wrong :)1 point
-
Sent from my SM-G930F using Tapatalk1 point
-
Of course I've fixed it, got a replacement on order, the law of sod, lol1 point
-
Yeah I appreciate that buddy,you really do have to nail them down to what they mean if you don't understand the description on work sheets.It's happened to me many times,lol.1 point
-
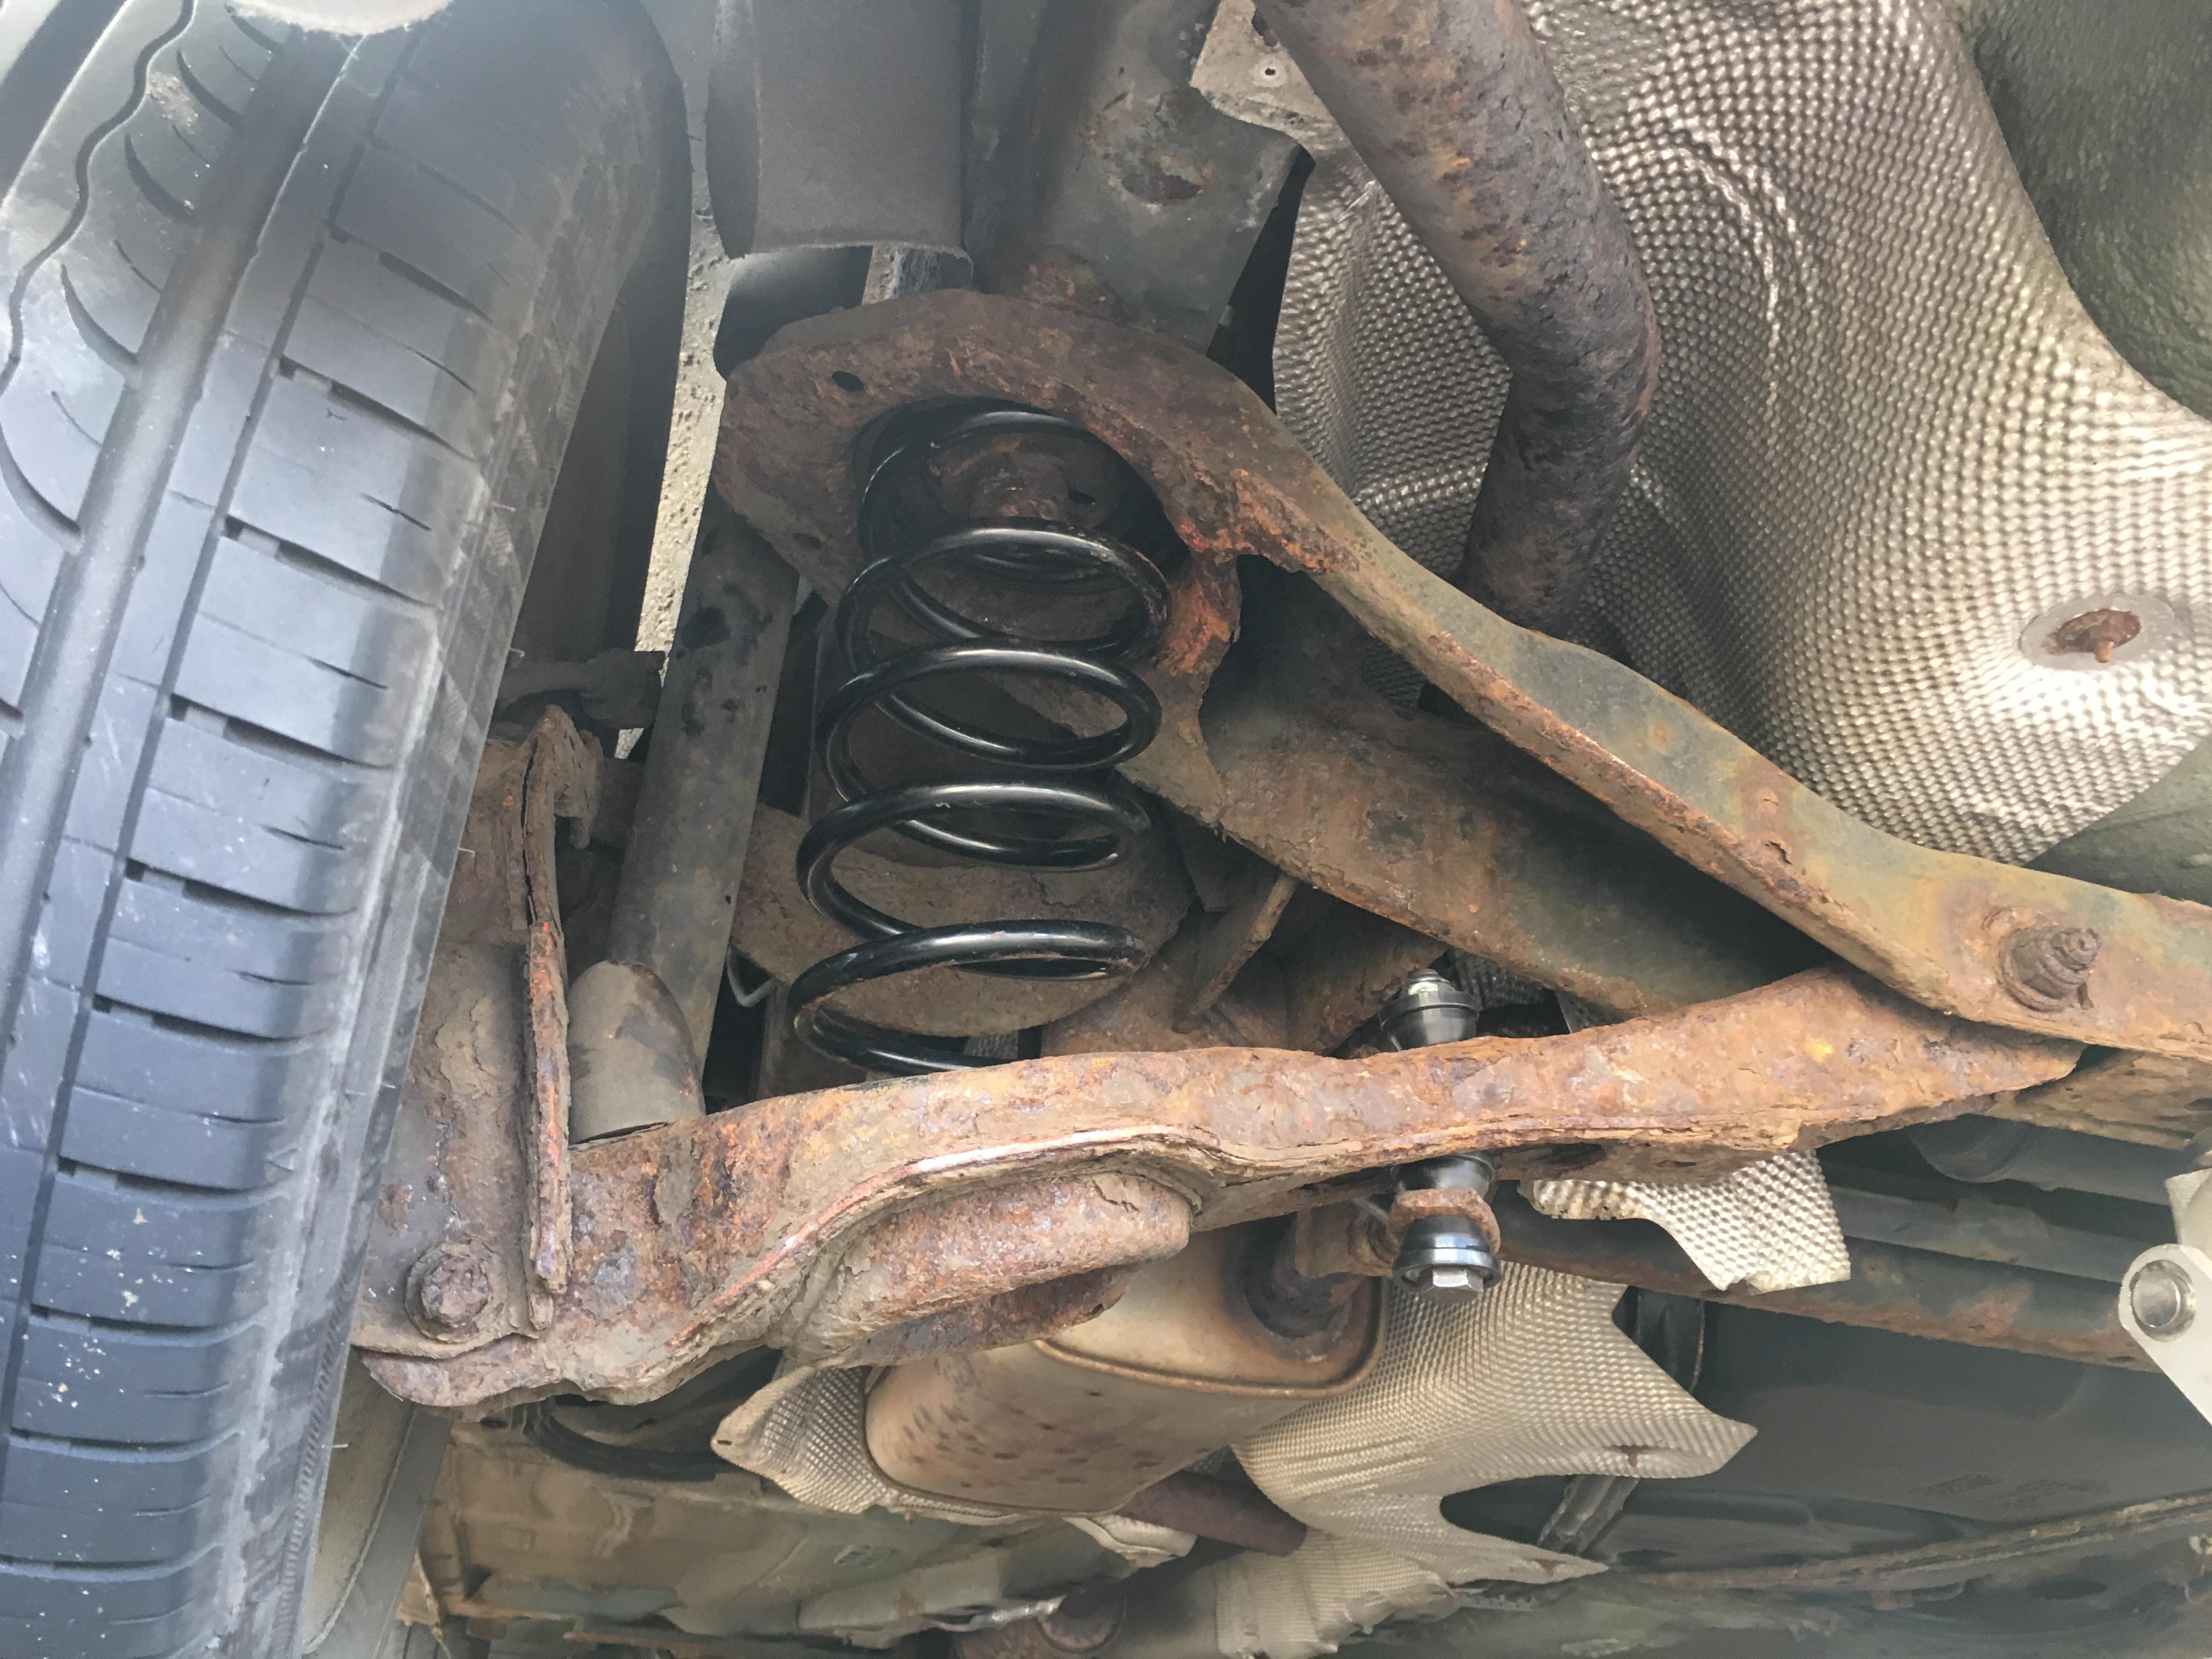
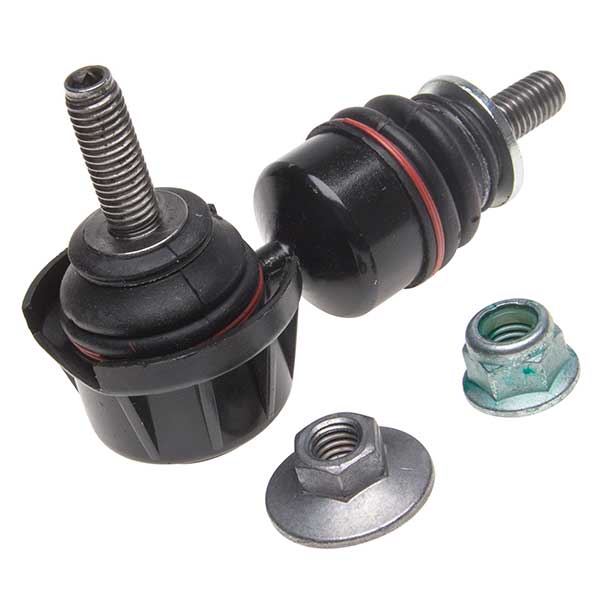
certainly was on the focus I've just repaired. you get a bolt and a ball joint type though. The ball joint type look exactly like the ones I've done on a mazda 3.
1 point
-
Just about to say the same,you beat me to it Stef.Balljoint at the rear?1 point
-
Hi Welcome1 point
-
Embarrassingly, I have discovered the cause of the fault - a particular pair of shoes I own have a thick and wide sole which catches on the accelerator peddle when my foot is on the brake! Cheap repair though :-)1 point
-
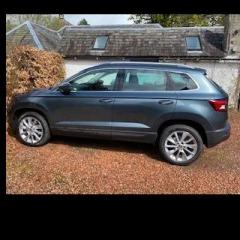
Bought a 66plate Titaium x same colour Deep impact with full St-line kit & alloys.Best of both worlds as get to keep the spec,leather Sony nav,climate cont and cruise control.Only 151 miles on the clock £13500 & got 10k for mine.No hassle at all of Jennings (didn't even try to sway me to do financ) just paid £3500 on the debit card and swap cars over tomorrow.1 point
-
i believe it's a mk6.1 point
-
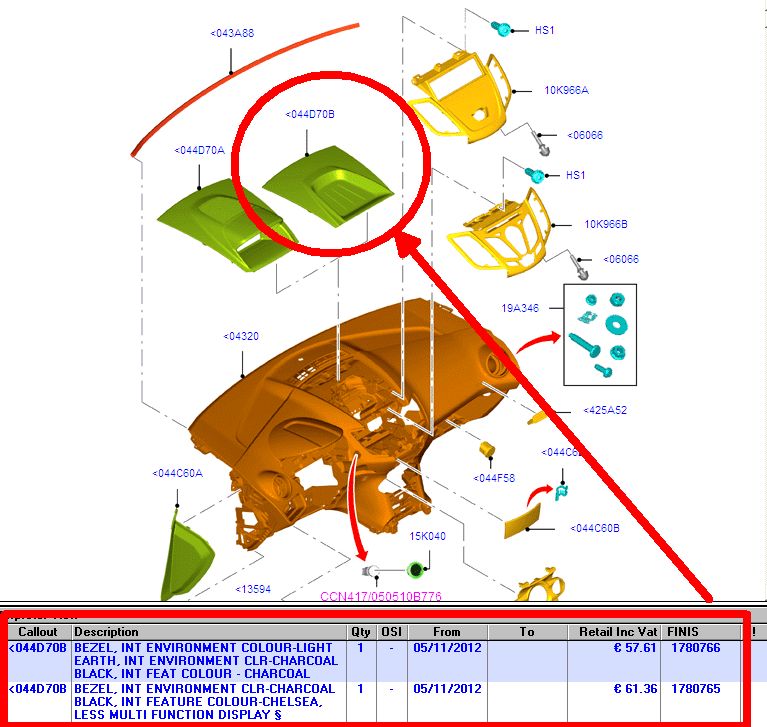
Hi pal, is that microcat by any chance? I'm looking to find a parts manual on the computer. Just need the names of programs, I should be able to find some way of getting it working by googling around, I like a challenge.1 point
-
Coil pack or leads are prime candidates.1 point
-
No, alarm is armed as soon as it is locked. Second plip just double locks it.1 point
-
Looking at the pics there is no way that is brake fluid, far too much of it and also wrong colour. an expensive day out for you.1 point
-
Coil pack?1 point
-
See the following thread: If you message a member on here called @Bannko he can send you details on this if you have MyFord Touch version of SYNC21 point
-
Just leave it unlocked, in the worst case scenario, if anyone tries to nick it they wont get far if the alarm keeps going off1 point
-
Thanks Alex & will do :)1 point
-
applink is buggy at best, in the end, i bit the bullet and installed a 7" touchscreen that came with Spotify integration along with android auto and a host of other features1 point
-
The horn does work but you have to use the airbag wiring on the new airbag and connect it to the original connector . When I get chance I'll do a write up. Everything works as it should with indicator cancellation. The hole in the wheel for the clock spring connector is bigger than the original so needs to be filled to support clock spring connector. Easy job just takes a bit of time1 point
-
Hi, I had a similar noise on my Galaxy. It turned out to be the dreaded DMF, I had to have a new starter as well because I delayed getting it repaired.1 point
-
Hi, I had the same noise on my Galaxy. It turned out to be the dreaded DMF, had to have a new starter as well because I put off getting it repaired.1 point
-
I have twin exit exhaust on mine just scooped out the other side of the valance1 point
-
The wastegate is normally closed, it opens when the boost pressure reaches a set level for the actuator to open the wastegate and send the exhaust gases to the exhaust and not the turbo. the turbo doesn't kick in, it is as mentioned always spinning, max boost will be achieved at about 2500 revs which is when the turbo is upto speed.1 point
-
After spending all day in a black uniform, body armour and patrol vest I got home totally drained and soaked in sweat. There is currently a trail of uniform from the front door to the bathroom door where a long cool shower was enjoyed. Willow and Jed are currently having a soak in a paddling pool in the back yard looking very happy and relaxed doggies indeed. Sent from my SM-G930F using Tapatalk1 point
-
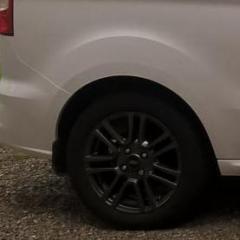
yes went for the gloss black to fit in with the grills and front splitter. got delivery of it this morning but will fit on another day as fitted the spoiler to day and just want too make sure its water tight. check my build thread for pics if you want1 point
-
Put on some drum and bass, if it goes boom boom it's your sub, haha.1 point
-
I hate the hot weather [emoji24] worst thing is I seem to be the only one! I've got Seasonal Affective Disorder in reverse1 point
-
Good to hear, did you go for the gloss black?1 point
-
Yes revs will be slightly higher at any given speed in the 140PS compared to the 125PS. My Dad still got 50 MPG from his 28 mile commute though, so I don't know if it makes a big difference to fuel economy.1 point
-
Other than the map and head gasket, it has a different open diff, which shortens all the gear ratios for quicker in gear acceleration. As of around 2016 (or end of 2015) you could order the standard Zetec S (or ST-line as it's now called) with the 140PS too. No longer exclusive to the Red/Black edition. My Dad has a Zetec S 140PS in Magnetic, although he's planning to sell it in the next few months due to a change of job :(1 point
-
Last weekend i removed two standard white aluminium radiators from the house; one from the kitchen and one from the bathroom upstairs which was a bit rusty, I took them out the back garden and hosed them out then left them to drip dry. I've ordered replacements and im replacing them on the 1st week of August when I get a week off work, Yesterday I put them in the boot of the car and went to the local recycle centre with my wife; with the intention of disposing them in the scrap metal skip which I had done previously with the living room radiator And the recycle centre is free. So we get there and see a Que of vehicles outside which is unusual because you drive through the gate to a large concrete yard; but at the gate there was 3 cars in front of us and I noticed a new automatic lifting arm on the gate area with a female driver struggling to get it open for entry, there's no signs up or anything, and the usual long term unemployed individual with the bull dog attitude is on patrol within the compound in his full high visibility oil skins. I say long term unemployed because the only way you get that council job is if you avoid getting a job for three years they put you in to a job like that. So I asked the wife to pull up outside the railing and I'll walk in with the radiators to throw them in the skip. I open the boot lift out a radiator and as I'm walking in; the guy shouts at me "hey two euro, bring in the car" i said "you what" He says "you have to pay 2 euro at the gate for entry" I said "even for pedestrian access it's 2 euro?" He says "yep 2 euro no pedestrian access" I said "Goodluck with that enterprise" I then drove 15 minutes out to a local scrap yard where they paid me 1.15 euro that's one euro and fifteen cent to take the radiators from me, I asked the guy for a receipt for the 1.15 and he laughed at me, I then explained about the council's recycle centre want to charge me €2 and I was going to go back to show that what I was giving them was worth money 😀 He couldn't give a recipet but I went home then the wife drove 20 minutes to the next town which also has a recycling centre which is also operated by the council but in a different county and there still completely free. I pay on average €400 per week on tax and I pay for my own refuse charges to a private wheelie bin company, I refuse to pay €2 to bring some scrap metal or even some cardboard to the local recycle centre.1 point
-
Yeah I realised that things weren't as drastic as they seemed but I was still sweating a bit til I got it figured out. FoCCCus and ForScan are big leaps from Formidable for my mk1.5! "Ooh look! When I press the accelerator, the revs on my laptop go up too! That's cool <nerdy laugh>"1 point
-
It does depend on how long your journey is time wise too. Obviously if you are crawling though traffic you will have warmed up over less miles.1 point
-
OP is only doing 17 odd miles each journey, not enough for a diesel to properly warm up imo. The 1.0 ecoboost can do 40-50 MPG depending on your journey, I just don't see the point in going for a diesel unless you are doing journeys of 30 miles+ each way.1 point
-
35 miles a day round trip is not enough for a diesel, you're asking for DPF problems imo. I'd stick with the 1.0 Ecoboost.1 point
-
So, I sold the fiesta on Friday and picked up a 2.0TSI VW Scirocco GT DSG The forum and it's members have saved me thousands of pounds in both parts and labour, and I couldn't be more grateful. I wish you all the best & good luck with any future projects! Cheers Kieran1 point
-
great job , I've got a transit courier too 👍 Great bit of kit , looking forward to seeing your splitter etc👍1 point
-
DMB Graphics are always very helpful they even printed a RedBull Can including the ingredients and barcode for my 1.0 Fared Capacitor, And I also got some website decals for my rear door window sills from them aswell. http://www.dmb.uk.com/ Ow and they also do the stripes 😉1 point
-
01, that's 15 years old. You are right to be wary, I had one quit on an XR2, f****** expensive. If it runs, buy it, drive back slowly/carefully and get it changed ASAP. I bought a 15 yo campervan with original belt, I was cr**ping myself 'till I had it changed.1 point
-
no switches for heated seats = no heated seat elements fitted, there may be a connector ready for plugging them in but i would check where the switches should be and check for loose or taped up connectors remember the connector block under seat as shown is you photo contains airbag wiring so leave well alone unless you know what your doing1 point
-
Pain in the !Removed! job but doable. jack up rear of car put axle stands on chassis. Support rear beam on a trolley jack. Remove the big bolts that run through each bush. Lower rear beam. This will expose the remains of your bushes. drill burn hammer scream swear do what ever you can to get the rubber out of the shell so that you can get a hack saw blade through. Now carefully cut the steel shell. Resume swearing and hitting with hammer to remove shell. Grease up axle and pop some polly bushes in. put it all back together again. Cup of tea and a slice of cake and bandage the remains of your hands :)1 point


-
Popular Contributors
-
1
 unofix
88 -
2
 TomsFocus
72 -
3
 StephenFord
49 -
4
 iantt
iantt
40 -
5
 DaveT70
28 -
6
 Eric Bloodaxe
22 -
7
 RayC333
11 -
8
 alexp999
10 -
9
 Turvey
9 -
10
 mjt
mjt
6 -
11
 froggy8
6 -
12
 ssmith93
5 -
13
 Jimpster
5 -
14
 Dark Andy
5 -
15
 lphuk
lphuk
4 -
16
 Paulkp
4 -
17
 Mickey11
4 -
18
 nicam49
4 -
19
 Dan62
Dan62
4 -
20
 Frembrit
4 -
21
 rd457
rd457
3 -
22
 troy45
3 -
23
 simonb65
3 -
24
 vitalgs3710
3 -
25
 Tizer
Tizer
3
-


